Your ergonomic chair suddenly dropping mid-workday isn’t just annoying—it’s disrupting your posture, productivity, and spinal health. When that familiar thud happens while you’re typing, you’re left hunched over your keyboard, straining your neck and shoulders. This common failure affects 73% of office chairs within 3-5 years of daily use, primarily due to worn gas lift cylinders. You don’t need to replace your entire $500 chair when the fix takes 15 minutes and costs under $20. In this guide, you’ll learn exactly how to diagnose cylinder failure, safely remove your sinking chair mechanism, and install a new gas lift cylinder—no special tools required. We’ll cover critical safety steps most tutorials skip and show you how to match replacement parts to your specific chair model.
Why Your Ergonomic Chair Suddenly Sinks During Work
Ergonomic chairs sink unexpectedly when the gas lift cylinder’s internal seal fails, allowing pressurized nitrogen to escape. This critical component uses gas pressure (not air) to maintain height adjustment. As seals degrade from daily compression cycles, microscopic leaks develop—first causing slow descent, then complete collapse. Herman Miller’s engineering data shows cylinders withstand 100,000 compression cycles before failure; heavy users exceed this in under 3 years. Warning: Attempting to “reset” a failing cylinder by slamming the chair down accelerates seal damage and risks sudden collapse.
How to Confirm Gas Cylinder Failure (Not Seat Pan Damage)
Perform these quick diagnostics before disassembly:
– The bounce test: Stand behind the chair and press down firmly on the seat. If it sinks smoothly without catching, the cylinder is failing. A healthy cylinder offers firm resistance.
– Leak check: Wipe the cylinder shaft with a paper towel. Oil residue indicates seal failure—the nitrogen propellant carries hydraulic fluid when compromised.
– Stability test: Rock the chair side-to-side while seated. Excessive wobble suggests loose base mounting, not cylinder issues.
Essential Tools for Ergonomic Chair Repair

Required Tools You Already Own
- Rubber mallet (or hammer + wooden block)
- Towels or moving blankets (for floor protection)
- Work gloves (leather preferred for grip)
- Shop vacuum (to capture metal shavings)
Critical Parts Identification
Never guess cylinder size—measure these dimensions:
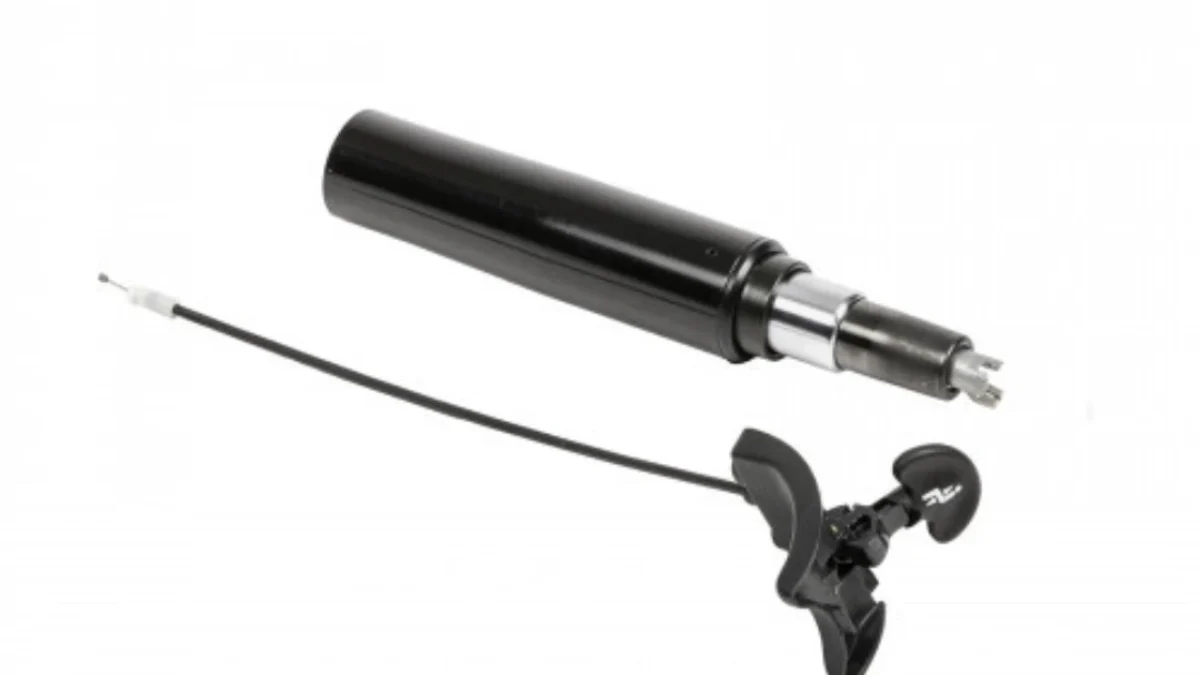
1. Cylinder diameter (standard: 2″, 2.25″, or 2.5″)
2. Total extended length (measure from base mounting plate to top collar)
3. Top mounting type (T-nut, cross bolt, or spigot)
Pro Tip: Take your old cylinder to an office supply store—most carry universal replacement kits with size charts.
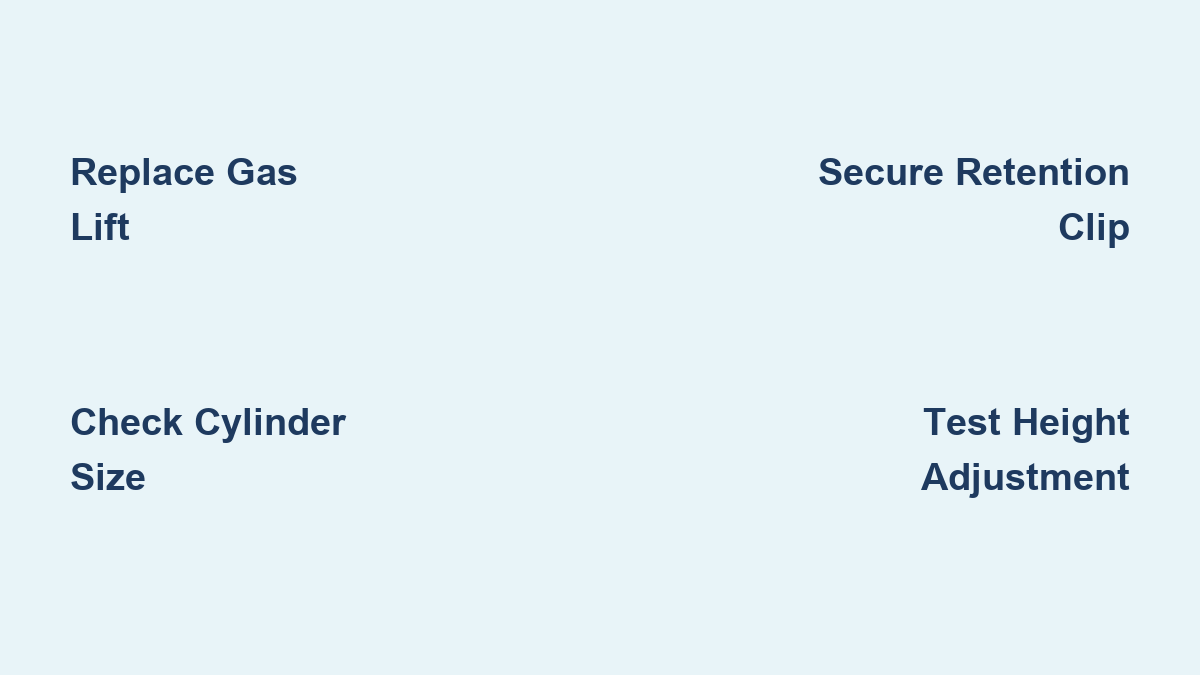
Step-by-Step Gas Cylinder Replacement
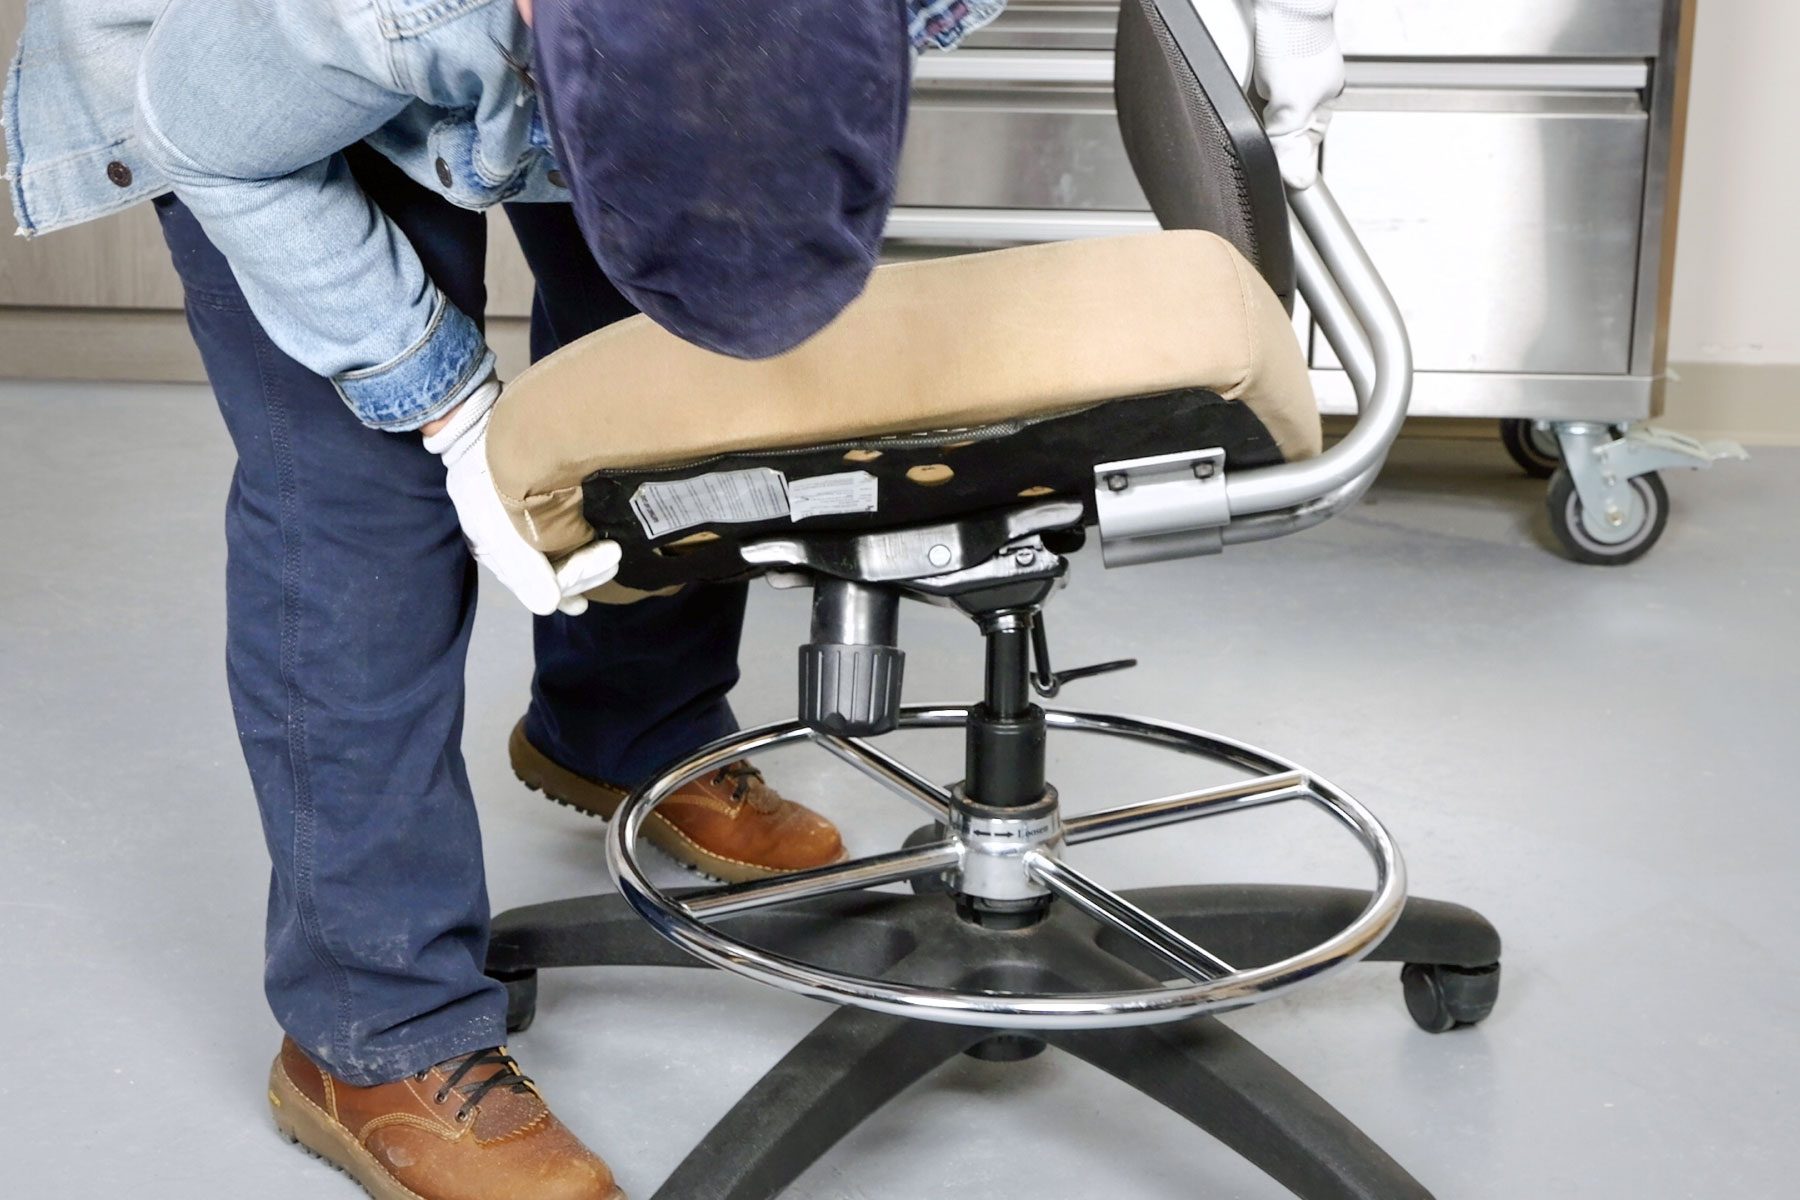
Safely Removing the Old Cylinder
- Flip chair upside down on thick blankets, ensuring casters won’t roll
- Locate release mechanism: Most chairs have a plastic clip under the seat pan (refer to Steelcase’s service diagrams)
- Compress the cylinder: Sit on the chair base while wearing gloves, applying downward pressure
- Slide out retention clip: Use needle-nose pliers to remove the C-clip securing the cylinder
- Lift seat off cylinder: If stuck, tap base rim gently with rubber mallet—never strike cylinder shaft
Installing the New Gas Lift Cylinder
- Lubricate new cylinder with silicone spray (avoid petroleum-based lubes)
- Align cylinder with base: Insert shaft through base mounting plate
- Reattach seat pan: Guide cylinder through seat mounting hole while compressing slightly
- Secure retention clip: Slide C-clip into groove until it clicks—verify it’s fully seated
- Test height adjustment: Pump lever 3 times to activate nitrogen pressure
Critical Safety Check: Before sitting, lift seat 6″ and release—healthy cylinders should hold position without sinking.
Avoid These 3 Costly Repair Mistakes
Mistake #1: Forcing the Cylinder During Removal
Hammering directly on the cylinder shaft damages internal seals. Fix: Place a 2×4 block against the base rim and tap only on the wood. Herman Miller technicians use this method to prevent base cracking.
Mistake #2: Using Wrong Cylinder Grade
Standard office chairs require Class 3 (200 lb capacity) or Class 4 (250+ lb) cylinders. Installing a Class 2 cylinder (150 lb) under heavy use causes immediate failure. Solution: Check manufacturer labels under the seat—most premium chairs require Class 4.
Mistake #3: Skipping Base Bolt Tightening
Loose mounting bolts cause dangerous wobble. Prevention: After installation, tighten all 4-6 base bolts to 15-20 in-lb torque (hand-tight plus 1/4 turn). Use threadlocker on bolts if chair vibrates frequently.
When Repair Isn’t Possible: Structural Damage Signs
Not all chair failures involve the gas lift. Replace your chair entirely if you see:
– Cracked seat pan (visible spiderwebbing under fabric)
– Bent base spider (uneven caster contact with floor)
– Tilt mechanism grinding (metal shavings in pivot points)
– Frame weld separation (audible “creaking” when reclining)
Cost Reality Check: Professional repair shops charge $85-$150 for cylinder replacement. If your chair shows multiple structural issues, replacement may be more economical than repair.
Preventing Future Sinking Chair Failures
Extend your cylinder’s lifespan with these maintenance habits:
– Monthly lubrication: Spray silicone on cylinder shaft (never oil)
– Weight limit adherence: Stay within 90% of chair’s rated capacity
– Avoid “chair spinning”: Rapid rotation accelerates seal wear by 40%
– Annual inspection: Check for oil residue and test bounce resistance
Herman Miller’s lab tests show chairs maintained this way last 8+ years—double the industry average. For heavy users (6+ hours daily), schedule cylinder replacement every 4 years as preventative maintenance.
Finding Brand-Specific Repair Parts
Herman Miller Aeron & Embody Chairs
- Cylinder type: Exclusive “Aeron Grade 4″ (2.25” diameter)
- Part number: A15.000.001 (verify via serial tag under seat)
- Where to buy: Authorized dealers only—beware counterfeit cylinders on Amazon
Steelcase Leap & Gesture Models
- Key identifier: Hex-shaped top collar (requires special tool)
- Replacement kit: Includes torque wrench adapter (part # SC-REPAIR-KIT)
- Pro tip: Remove armrests first for better access to mounting bolts
IKEA and Budget Chair Solutions
- Universal fit: Standard 2″ diameter cylinders (use size chart)
- Cost-saving hack: Order “office chair gas lift” kits from AliExpress ($8-$12)
- Warning: Cheap cylinders often fail within 6 months—invest in Class 4
Final Note: A sinking ergonomic chair compromises your posture and productivity within minutes of failure. By replacing the gas lift cylinder yourself using the exact steps above, you restore proper lumbar support and save hundreds compared to replacement. Remember to verify cylinder specifications before ordering parts—most failures happen due to incorrect replacements. For chairs with additional issues like torn mesh or broken tilt mechanisms, consult our companion guide “Ergonomic Chair Fabric and Mechanism Repair.” Your spine deserves proper support—don’t tolerate a sinking chair for another workday.
Leave a Reply