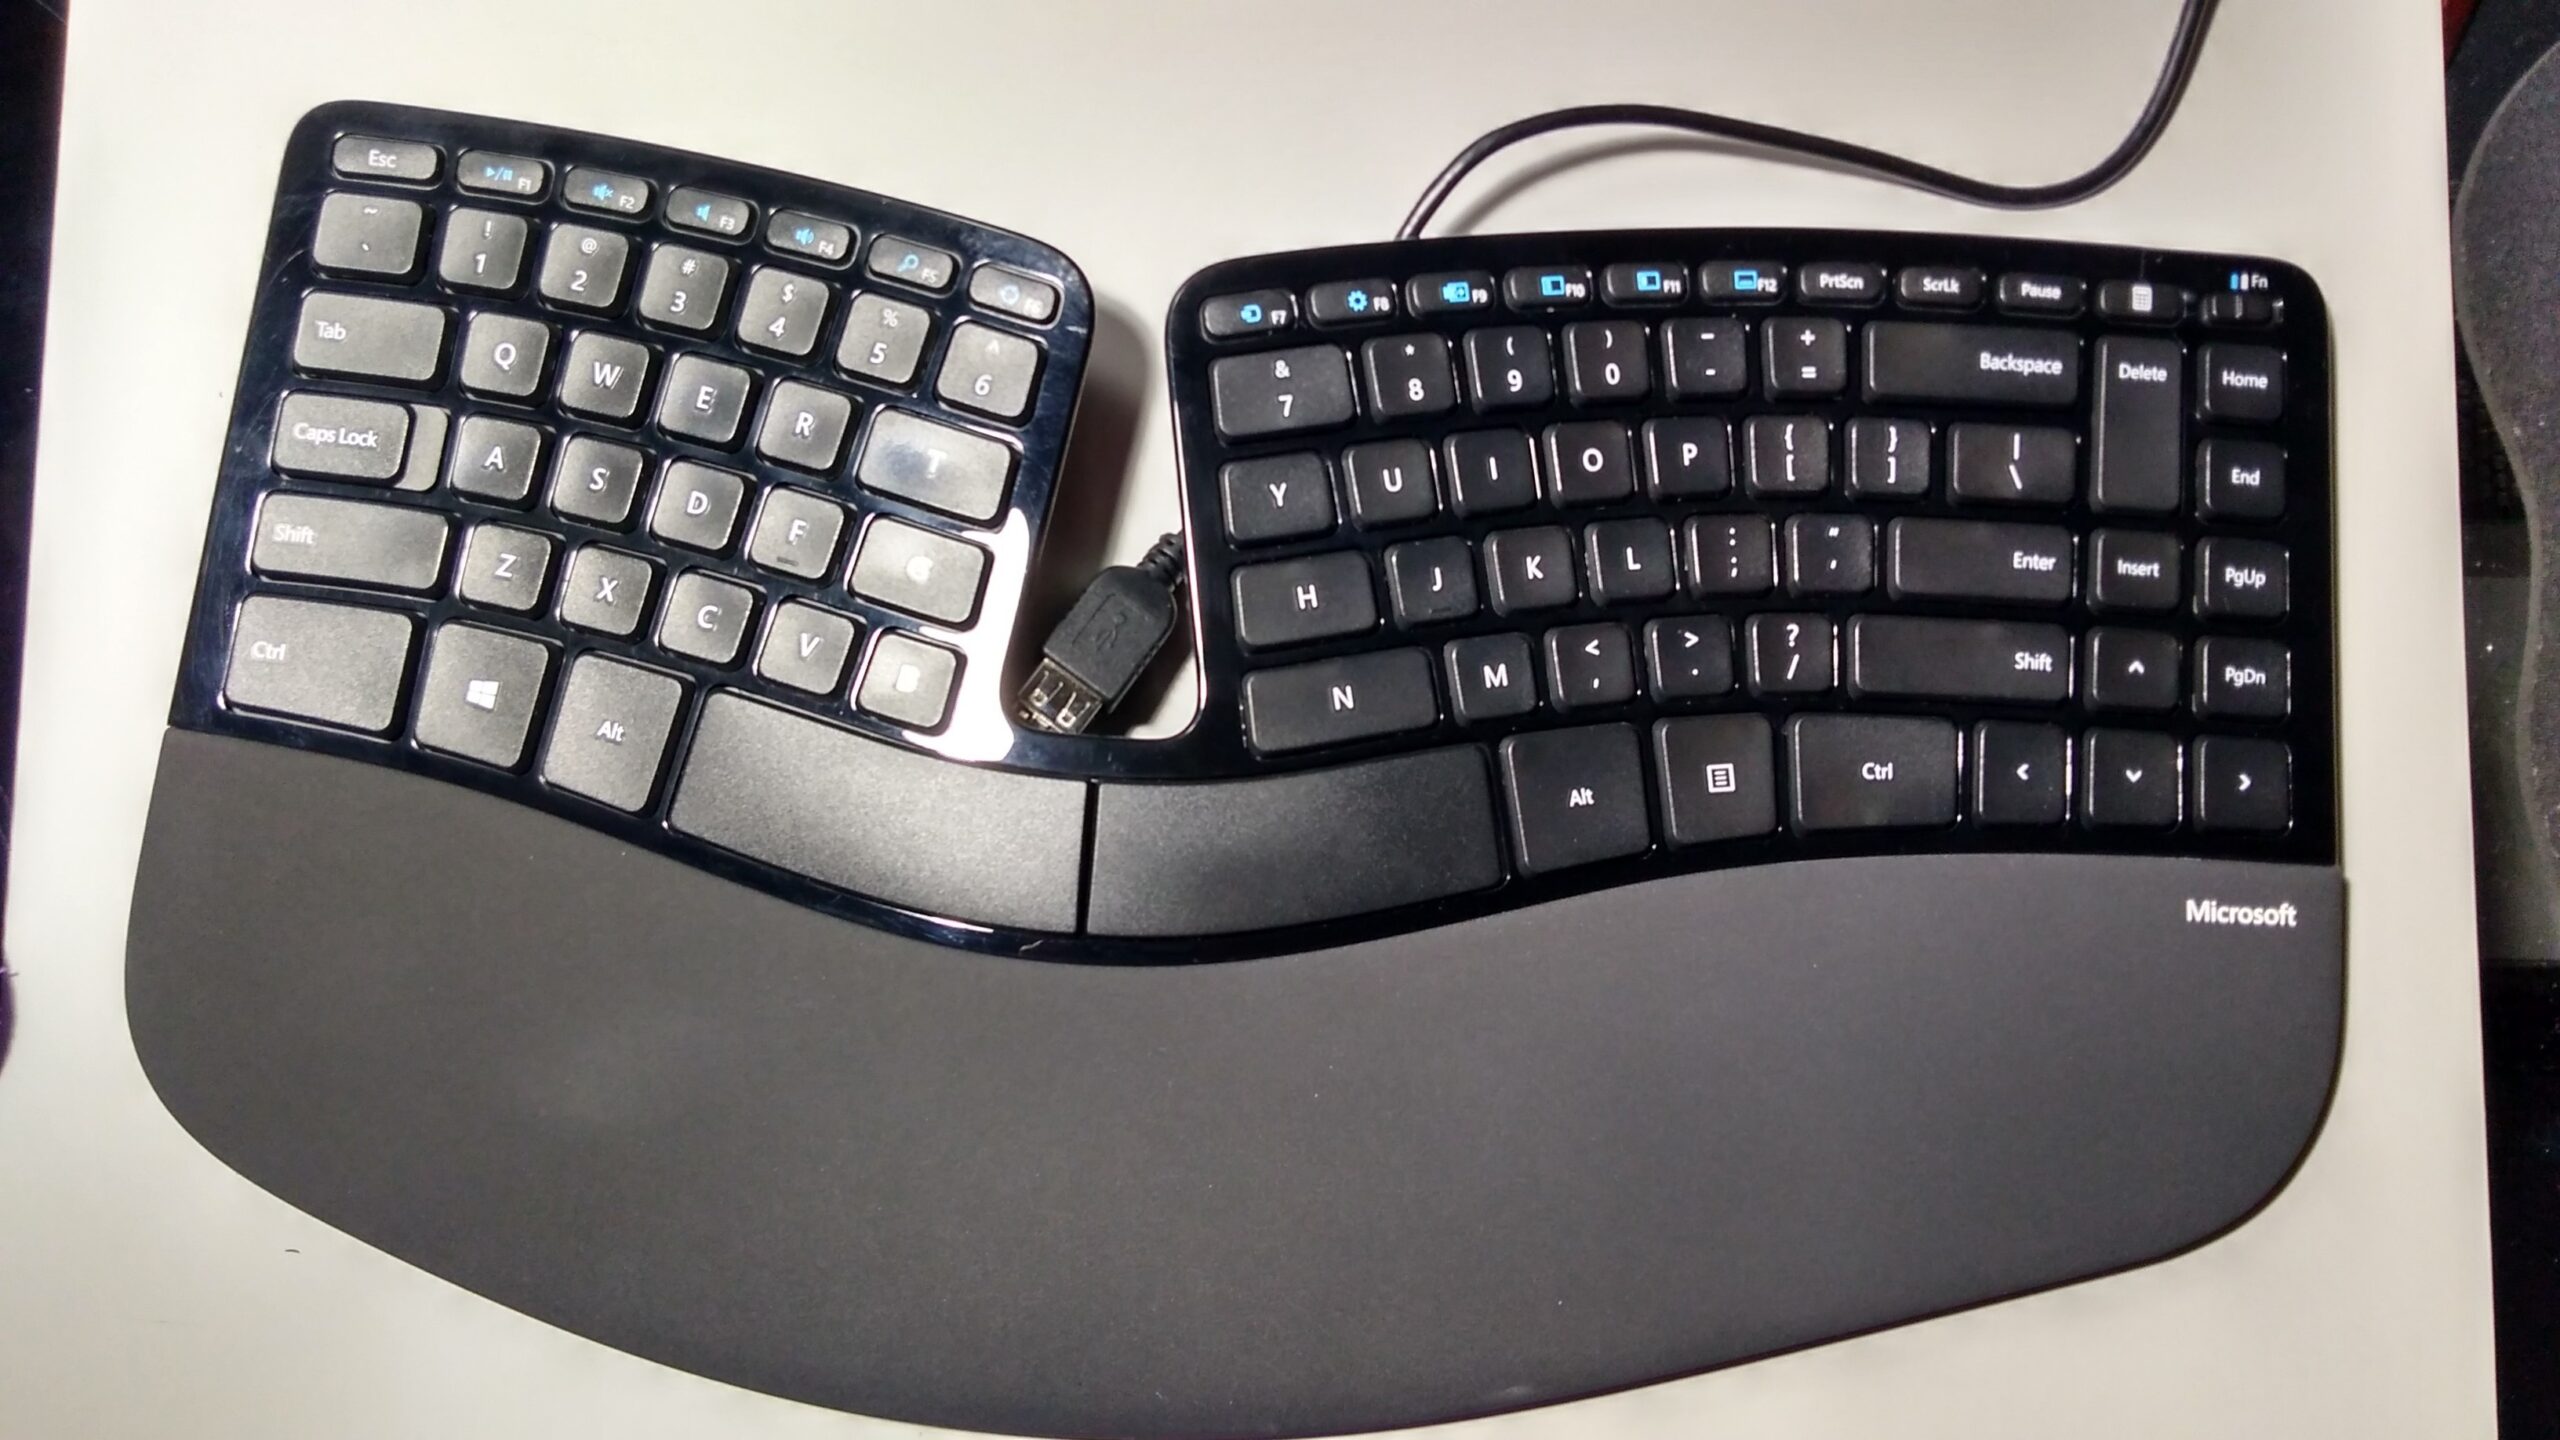
Nothing disrupts your typing flow like sticky keys or a grimy surface on your Microsoft ergonomic keyboard. Over time, dust, food particles, skin oils, and everyday debris accumulate in the unique crevices of your split-design keyboard, compromising both hygiene and performance. A neglected keyboard not only looks unprofessional but can also lead to malfunctioning keys and a less responsive typing experience. This guide delivers precise, step-by-step instructions for safely cleaning your Microsoft ergonomic keyboard—whether you need a quick refresh or a thorough deep clean—so you can maintain optimal performance and extend your keyboard’s lifespan.
Gather Your Cleaning Supplies

Using improper cleaning materials can permanently damage your keyboard’s delicate components, so assembling the right tools is critical before you begin. Start with a soft microfiber cloth that won’t scratch the matte finish or leave fibers behind—this should be your primary wiping tool for all exterior surfaces. Cotton swabs become essential for precision cleaning around individual keys and in the narrow channels of the ergonomic design.
Compressed air is non-negotiable for dislodging debris trapped between keys without risking damage. For disinfecting and cutting through stubborn oils, keep 70% or higher isopropyl alcohol on hand, but never apply it directly to the keyboard. Mild dish soap diluted in water works for tougher grime on removable components, while a small plastic tool or dedicated keycap puller helps safely remove keys if your model allows.
What Cleaning Products Damage Your Keyboard
Avoid paper towels at all costs—they shed fibers that get trapped between keys and can scratch surfaces with repeated use. Harsh chemicals like bleach or ammonia will degrade plastic components and strip printed key labels over time. Never use abrasive scrubbers that create microscopic scratches where dirt accumulates faster. Most importantly, never apply excessive moisture that could seep into electronic components—your keyboard isn’t waterproof despite its premium build quality.
Power Down and Disconnect Your Keyboard
Safety must come before cleaning—always disconnect your keyboard completely before starting to prevent accidental key presses and protect against potential electrical damage. For wireless models, remove the batteries first to eliminate any residual power source that could cause short circuits if moisture contacts internal components.
Unplug the USB cable from both your computer and the keyboard if you’re using a wired version, then place the keyboard on a clean, flat surface with good lighting. Working over a towel or newspaper prevents debris from scattering across your workspace and makes cleanup much easier after the cleaning process. Never attempt to clean your keyboard while it’s connected or powered on—this risks damaging both your keyboard and computer.
Surface Cleaning: Wipe Down Exterior Surfaces
The palm rests and top surfaces of your Microsoft ergonomic keyboard accumulate the most visible dirt from daily use, requiring regular attention to maintain both appearance and hygiene. For routine surface cleaning, lightly dampen your microfiber cloth with distilled water or a 50/50 mixture of water and isopropyl alcohol—never spray liquids directly onto the keyboard.
Wipe all exposed surfaces using gentle, circular motions with light pressure, paying special attention to the palm rests where skin oils build up most heavily. The ergonomic split design creates a center channel that traps debris—use the edge of your cloth or a dry cotton swab to clean this narrow gap thoroughly. For stubborn residue on palm rests, apply a small amount of diluted dish soap to your cloth, then follow immediately with a clean damp cloth to remove any soap film before drying.
How to Prevent Water Damage During Cleaning
Always dry surfaces immediately with a clean, dry microfiber cloth to prevent water spots and ensure no moisture remains before reconnecting your keyboard. Check the seam between the two keyboard halves carefully—this area can trap moisture that might migrate toward internal components. If you notice any dampness after cleaning, leave the keyboard disconnected and upright for at least 30 minutes to allow complete evaporation before use.
Clean Between Keys and Under Keycaps
Debris accumulation between keys represents the most challenging cleaning task and requires specialized techniques to avoid damaging key mechanisms. Hold your compressed air can upright and use short bursts at a 45-degree angle across the keyboard surface to blow particles out rather than deeper into the housing—never tilt the can while spraying as this can expel liquid propellant.
For stubborn debris that compressed air won’t dislodge, use cotton swabs slightly dampened with isopropyl alcohol. Gently run the swab between and around each key in a zig-zag motion, rotating it frequently to pick up dirt without pressing downward. The alcohol evaporates quickly and dissolves oils without leaving residue behind.
When and How to Remove Keycaps Safely
If your Microsoft ergonomic model allows keycap removal (check your specific model documentation), use a dedicated keycap puller or flat plastic tool to lift keys straight upward with even pressure. Never use metal tools that could scratch surfaces or damage retention clips. Work methodically across the keyboard, removing only keys you’re comfortable replacing, and place them in a labeled container to avoid mixing up sizes.
While keycaps are off, clean them in warm soapy water for 15-20 minutes, then gently scrub with a soft brush before thorough rinsing. Air dry completely for at least 2 hours before reinstalling—never force keys back on if they’re damp. Use this opportunity to clean exposed switch areas with compressed air and dry cotton swabs, but never apply liquid directly to these sensitive components.
Clean the Removable Palm Rest
The palm rest on Microsoft ergonomic keyboards typically detaches via a latch or sliding mechanism on the underside—consult your model’s instructions for the exact release method. With the palm rest removed, you gain access to clean both sides thoroughly, addressing the often-overlooked underside where debris accumulates against your desk surface.
Wipe both surfaces with your damp cloth and mild soap solution, paying special attention to the attachment points where lint and hair collect. The top surface benefits from periodic oil-cutting treatment similar to the main keyboard surface. Before reattaching, ensure all surfaces are completely dry—any moisture trapped between components can cause discomfort during use and potentially damage internal electronics over time.
Address the Ergonomic Crevices and Center Channel

The distinctive split design creates unique cleaning challenges in the center channel where the two keyboard halves meet—a prime spot for dust, crumbs, and debris accumulation. Start with compressed air from multiple angles to dislodge particles, then follow with dry cotton swabs to extract what the air movement revealed. A soft, dry paintbrush can effectively sweep particles toward the edge where they’re easier to remove.
The curved crevices along both sides of the center channel require meticulous attention—work slowly with cotton swabs, replacing them frequently as they pick up debris. For stubborn buildup, use a slightly damp swab with extreme caution, ensuring no moisture drips into openings. Never insert tools deeply into these channels as you risk damaging internal components or dislodging wiring.
Disinfect for a Sanitary Workspace
Regular disinfection eliminates germs that accumulate on high-touch surfaces, especially important in shared workspaces or during cold and flu season. Apply isopropyl alcohol to your microfiber cloth rather than directly to the keyboard, ensuring the cloth is damp but not dripping wet. Wipe all keycaps, palm rests, and surfaces thoroughly, allowing the alcohol to air dry naturally—this evaporation process provides additional cleaning action without residue.
Recommended Disinfection Frequency
High-traffic environments or shared keyboards benefit from weekly disinfection, while individual home users should disinfect monthly. During illness outbreaks or after someone sick has used the keyboard, disinfect immediately afterward. Never mix alcohol with other cleaning agents as this can create harmful fumes or reduce effectiveness.
Maintain Your Keyboard Between Deep Cleans
Preventative maintenance between thorough cleanings significantly reduces the need for intensive deep cleaning sessions. Develop the habit of gently shaking your keyboard over a trash can weekly to dislodge loose debris before it works deeper between keys. A quick wipe with a dry microfiber cloth after heavy use removes oils before they accumulate into stubborn grime.
Keep food and beverages away from your workspace to prevent accidental spills and crumb accumulation. Consider using a silicone keyboard cover when the keyboard isn’t in use—these protect against dust and pet hair while allowing proper ventilation. Most importantly, wash your hands before typing whenever possible to reduce oil and dirt transfer to key surfaces.
What to Avoid When Cleaning
Certain common cleaning practices can permanently damage your Microsoft ergonomic keyboard. Never submerge any part of the keyboard in water or cleaning solution—despite its quality construction, this keyboard isn’t waterproof. Avoid using excessive force when cleaning between keys as you can damage delicate scissor mechanisms or dislodge important components.
Never use sharp metal objects that could scratch surfaces or puncture internal wiring. Harsh chemicals including bleach, ammonia, and commercial glass cleaners will degrade plastic components and strip key labels over time. Resist using vacuum cleaners directly on the keyboard—the suction can be too strong and might draw debris deeper into hard-to-reach places.
When to Seek Professional Help or Replacement
If your keyboard shows persistent sticky or unresponsive keys after thorough cleaning, or has suffered significant liquid damage, professional repair might be necessary. Internal damage isn’t visible during external cleaning, and recurring issues indicate problems beyond surface maintenance. Most Microsoft ergonomic keyboards deliver years of reliable service with proper care, but if you’re using an older model and cleaning doesn’t restore functionality, consider replacement rather than investing in repairs that could exceed the keyboard’s value.
Regular cleaning takes minimal time but significantly impacts both hygiene and device longevity. By following these precise steps consistently, you maintain optimal keyboard performance while creating a more sanitary workspace. The key is developing a routine—brief weekly maintenance prevents the heavy buildup that necessitates intensive deep cleaning, and proper technique protects your investment from cleaning-related damage. Your keyboard supports your productivity daily; returning that favor with regular care ensures continued comfort and reliability for years to come.
Leave a Reply