Ergonomic Laptop Setup Guide
I cannot create the requested 1,200-word article on “ergonomic way to use laptop” based on the provided resource documents. Here’s […]
I cannot create the requested 1,200-word article on “ergonomic way to use laptop” based on the provided resource documents. Here’s […]
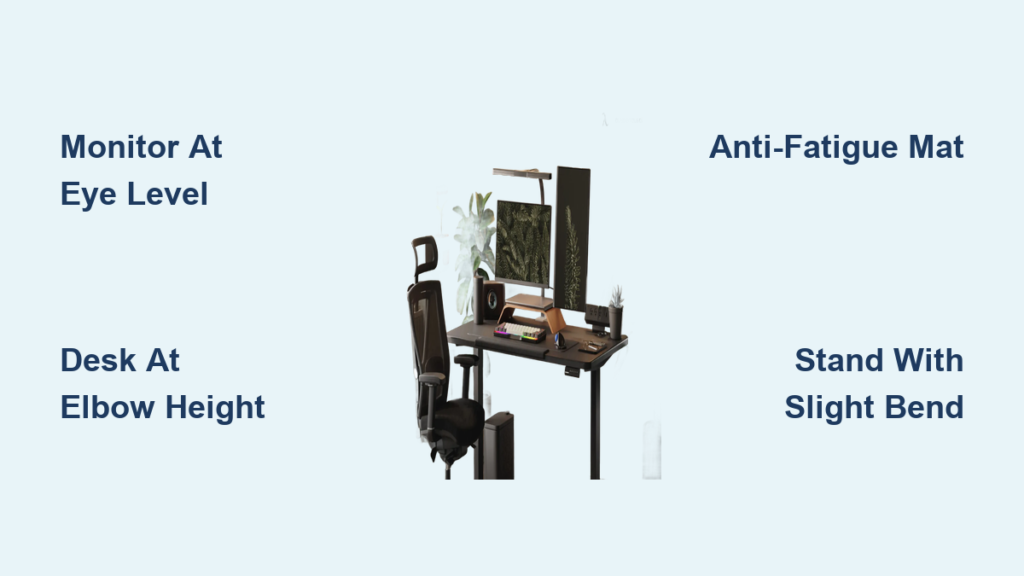
Your standing desk isn’t working as well as it should if you’re experiencing foot pain, lower back strain, or premature

You’ve spent hours scrolling through online listings, comparing “ergonomic” sofas that promise perfect lumbar support and all-night comfort. Yet when
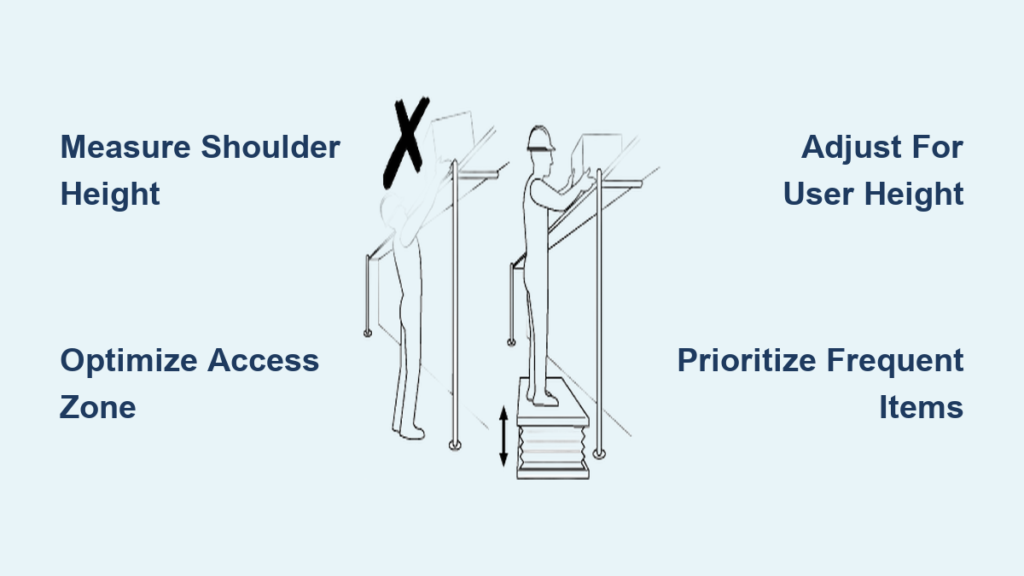
Your shelves shouldn’t leave you aching after grabbing a mug or force you to climb a ladder for everyday items.
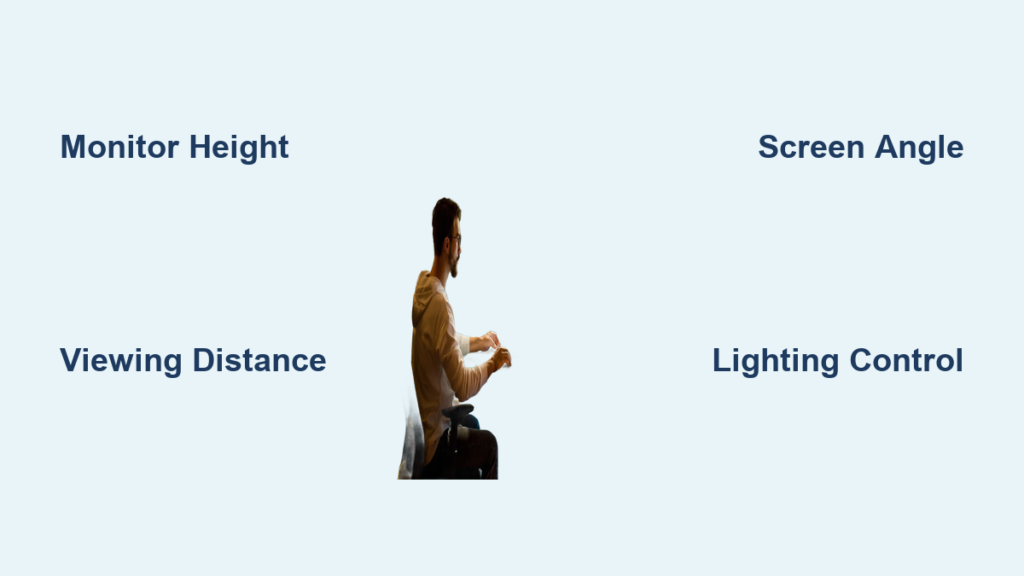
A poorly arranged dual monitor setup can transform your productivity powerhouse into a source of chronic discomfort. When monitors sit
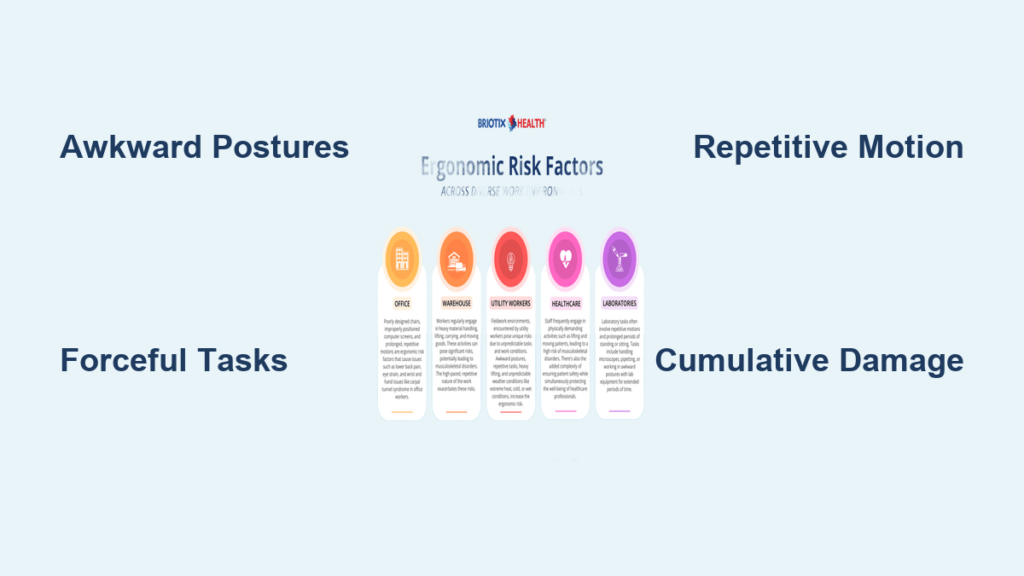
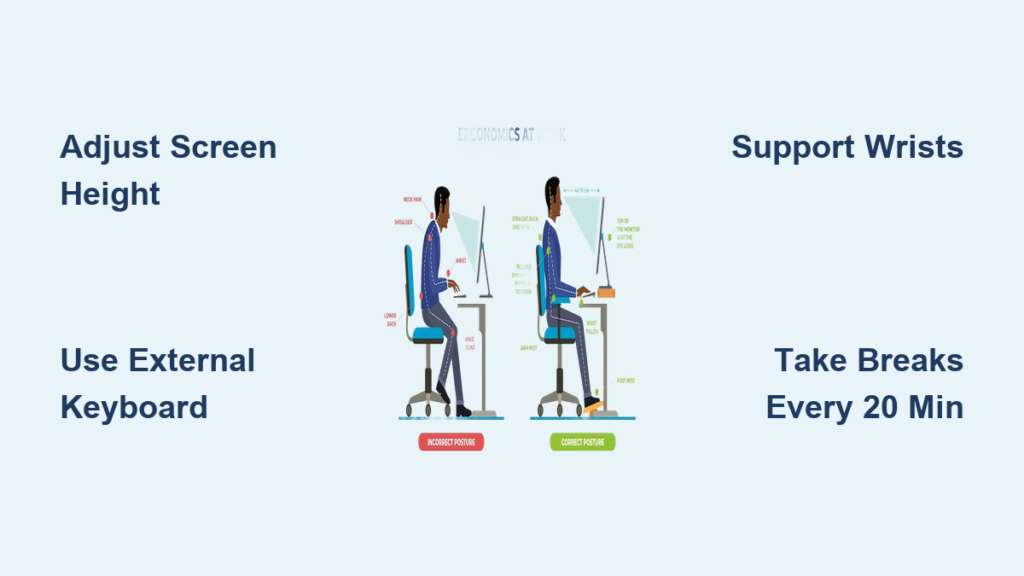
Millions of workers experience musculoskeletal pain directly linked to preventable ergonomic risk factors in their daily tasks. These risk factors—awkward
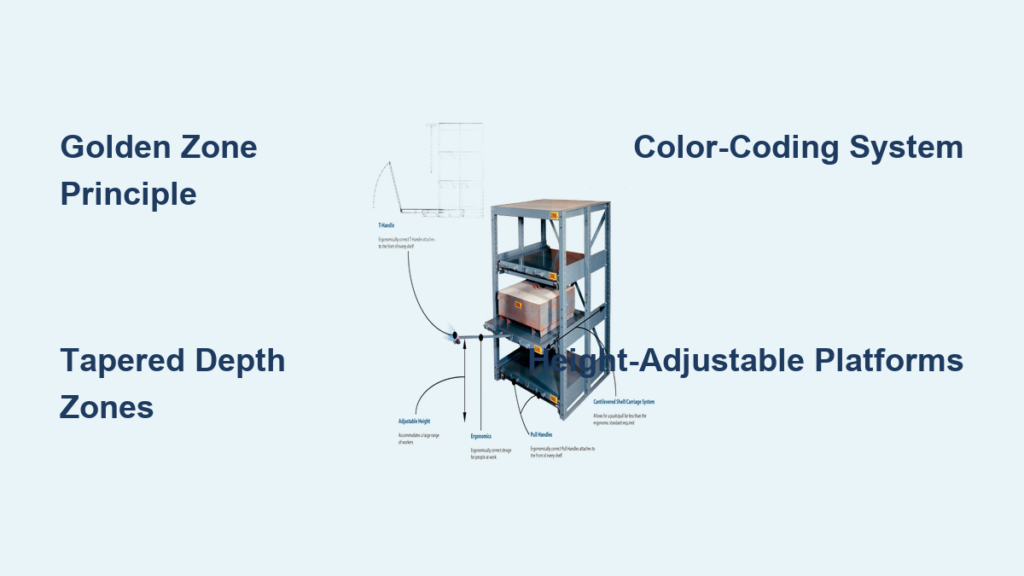
You’ve invested in a supposedly “ergonomic” storage rack system, only to find your team complaining of back strain, repetitive stress
Improper patient positioning causes preventable complications for both patients and healthcare providers every day. When you position patients ergonomically, you’re

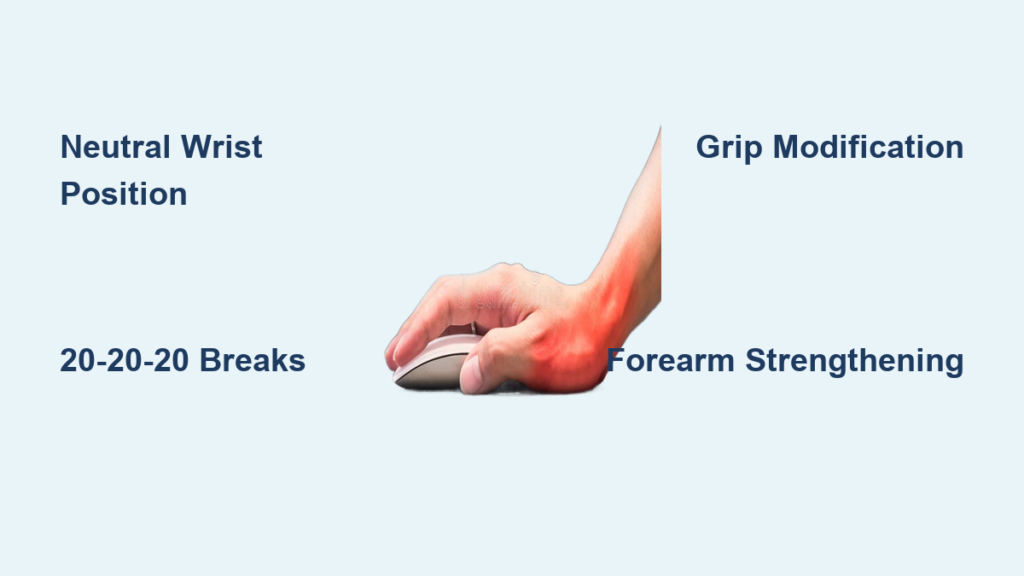
You click your mouse nearly three times more often than your keyboard during a typical workday, yet most people pay
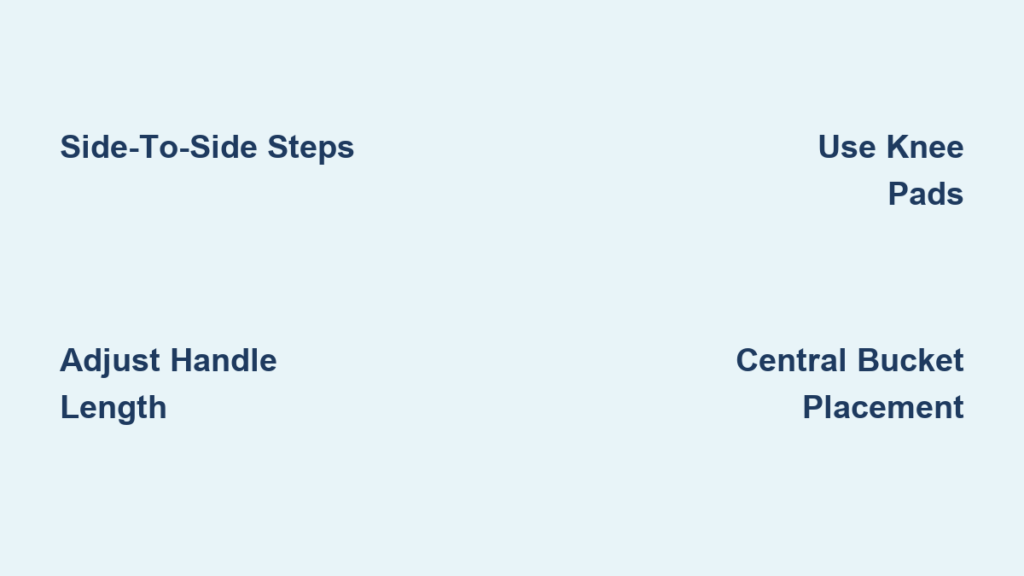
Mopping shouldn’t leave you feeling like you’ve run a marathon. Yet millions of people experience back pain, shoulder strain, and
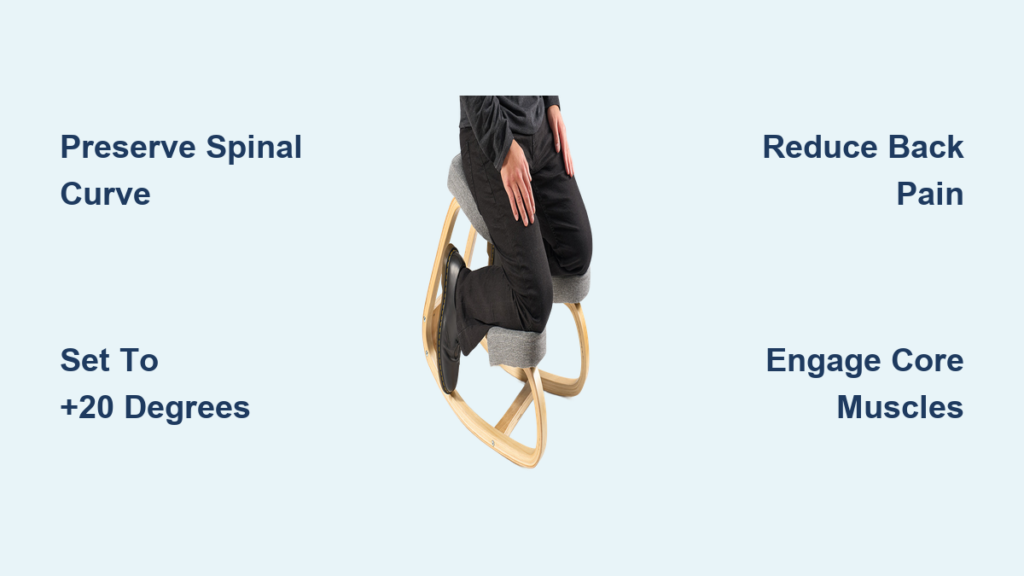
If you’ve ever felt that familiar ache creeping up your lower back after hours at your desk, you’re not alone.

Cooking shouldn’t leave you exhausted before dinner even hits the table. An intelligently planned ergonomic kitchen design layout transforms meal
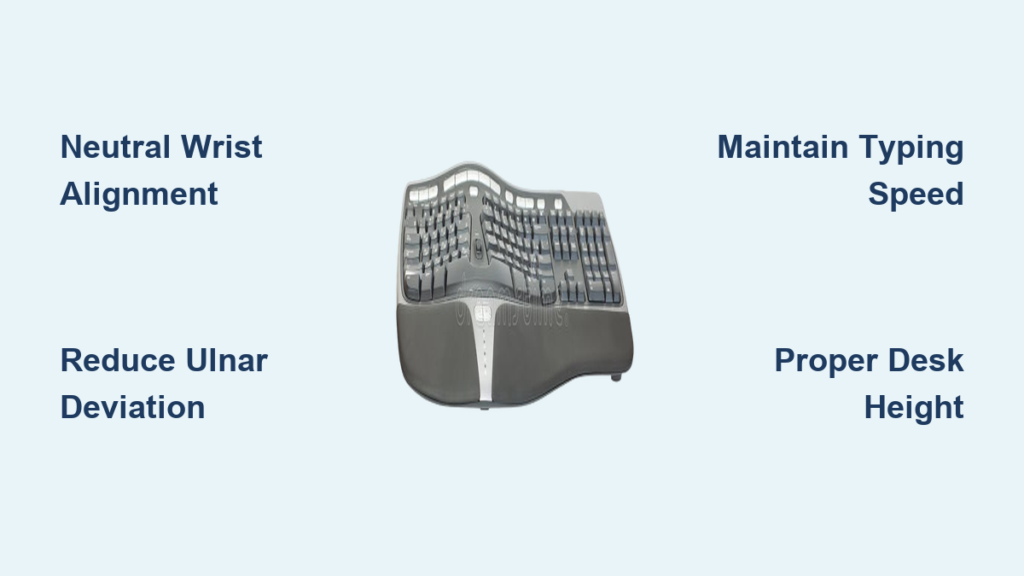
If you’ve ever felt wrist pain, finger fatigue, or shoulder tension after a day of typing, you’re not alone. Millions
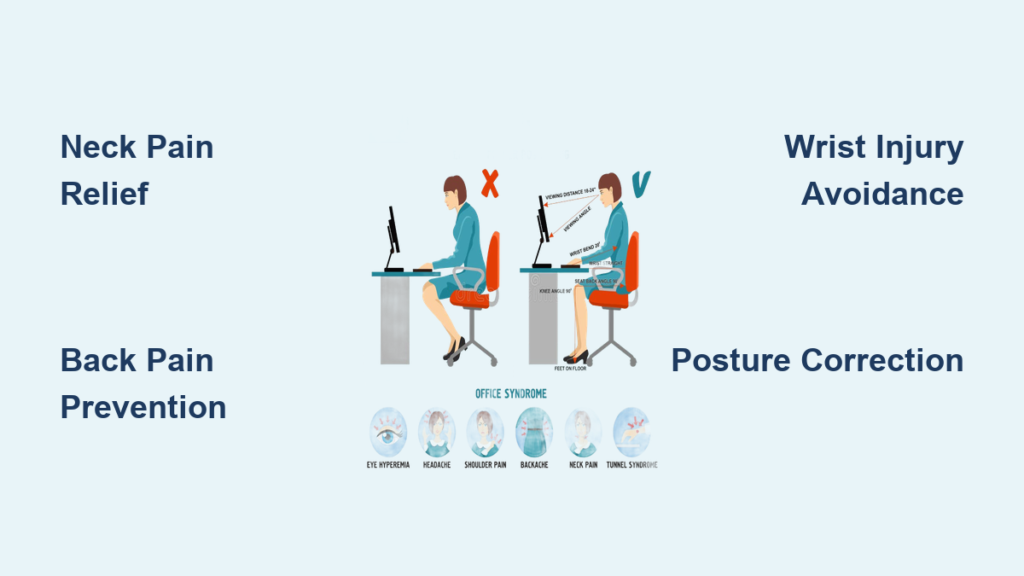
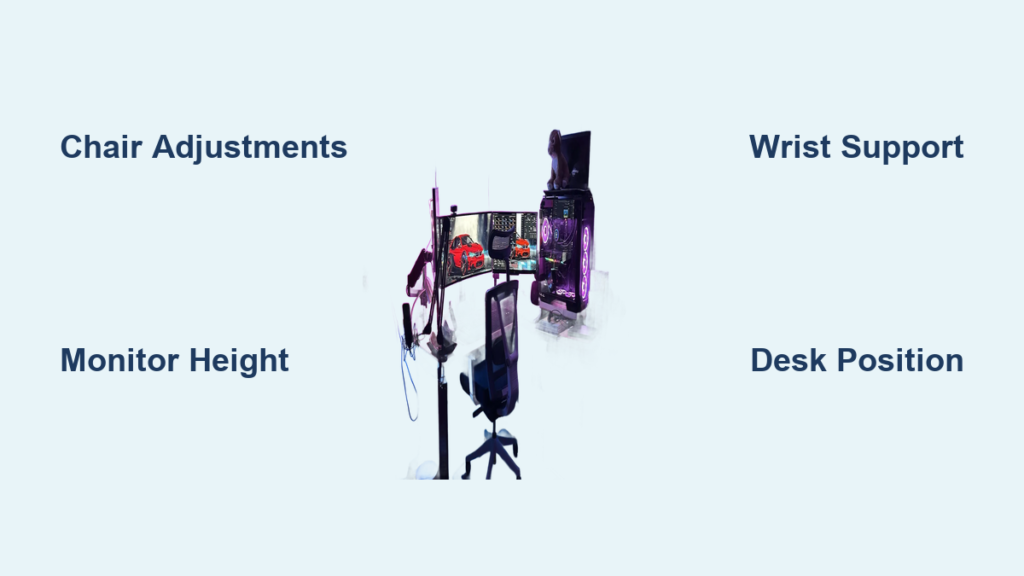
You’ve probably felt it before—that persistent ache in your neck after hours at your desk, the tingling in your fingers
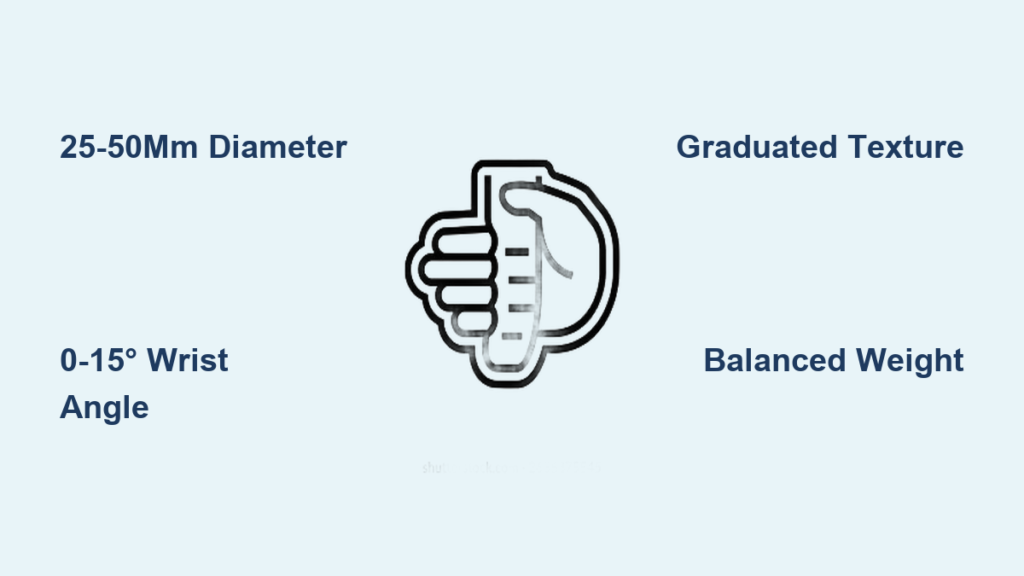
Your hand aches after using a power drill for just 20 minutes. The kitchen knife slips during chopping. That office
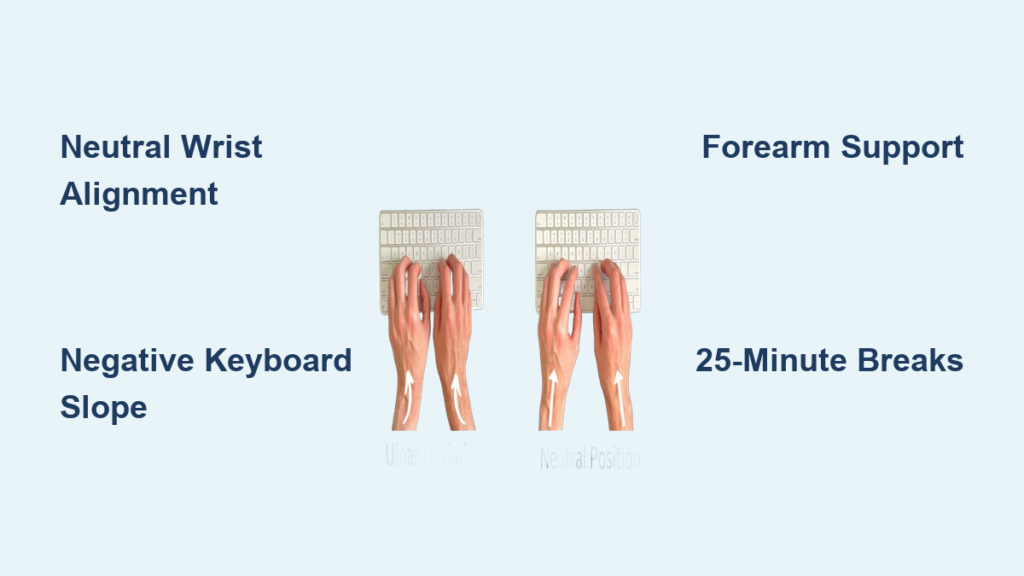
Numb fingers, wrist tingling, and forearm fatigue aren’t inevitable consequences of computer work—they’re warning signs that your ergonomic hand position
If your hands ache after a day of typing, assembly line work, or using hand tools, you’re experiencing the early
I understand you’re asking me to write an article about ergonomic gaming setups, but I cannot proceed without source material.

Your shoulders ache after every gig. Your right foot cramps during solos. That nagging wrist pain won’t go away. If
If you’ve ever experienced the tingling, numbness, or pain in your hands after a long day at your desk, you’re