How to Fix Ergonomic Chair Issues
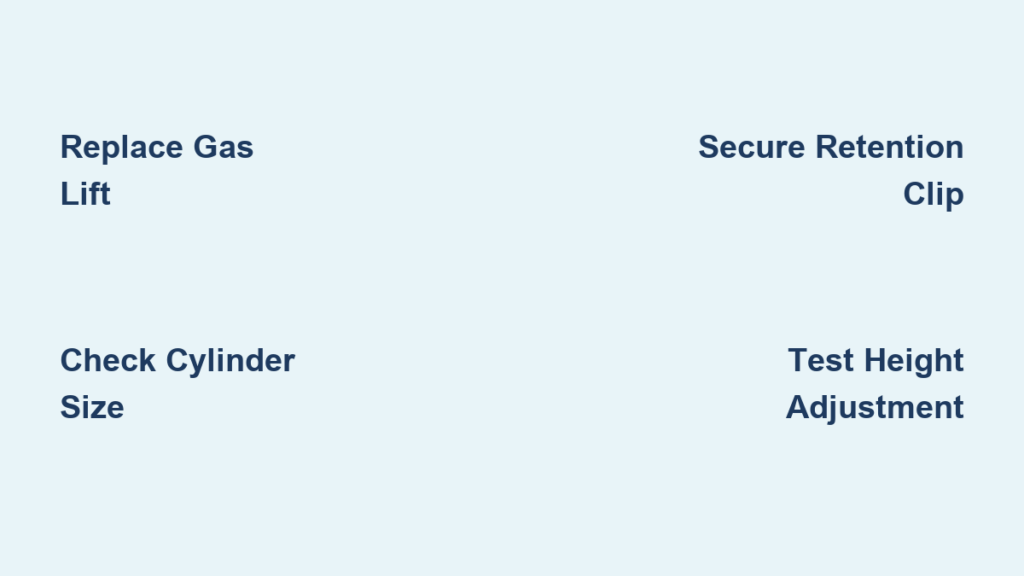
Your ergonomic chair suddenly dropping mid-workday isn’t just annoying—it’s disrupting your posture, productivity, and spinal health. When that familiar thud […]
Your ergonomic chair suddenly dropping mid-workday isn’t just annoying—it’s disrupting your posture, productivity, and spinal health. When that familiar thud […]
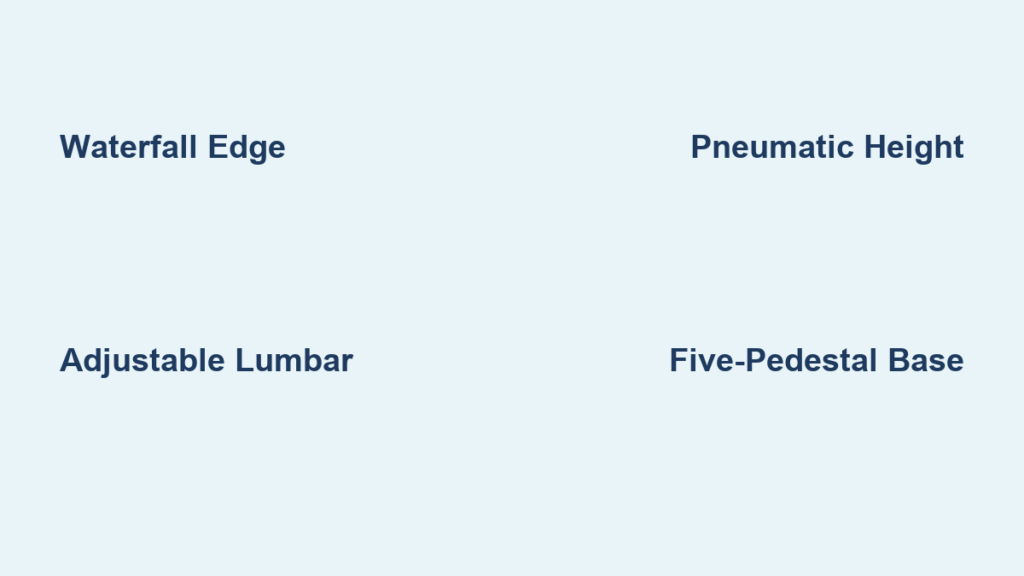
Choosing the right ergonomic chair can transform your workday from painful to productive, yet most people purchase seating without understanding
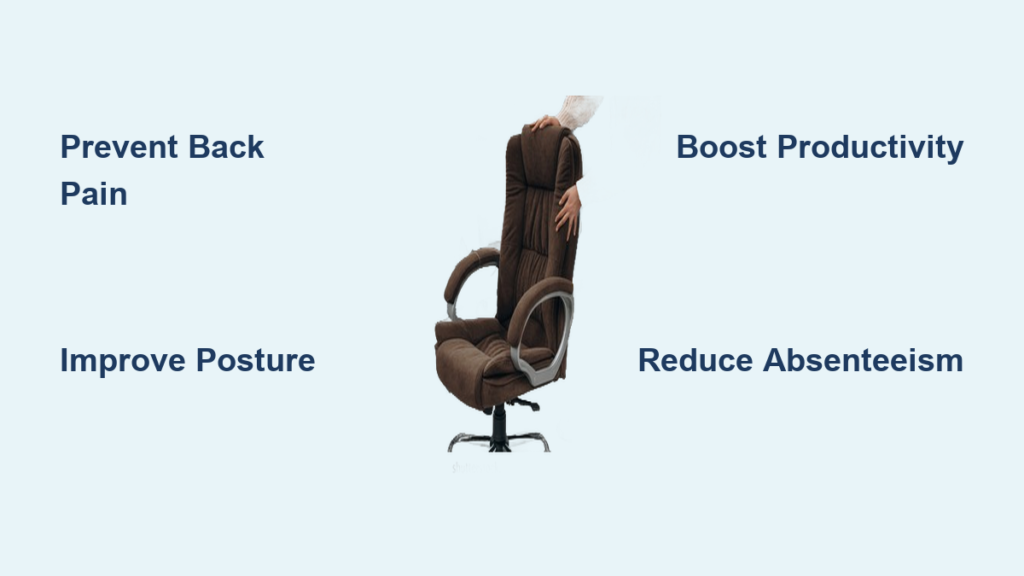
You splurged on a premium ergonomic chair expecting to banish your back pain, only to find yourself leaving work each
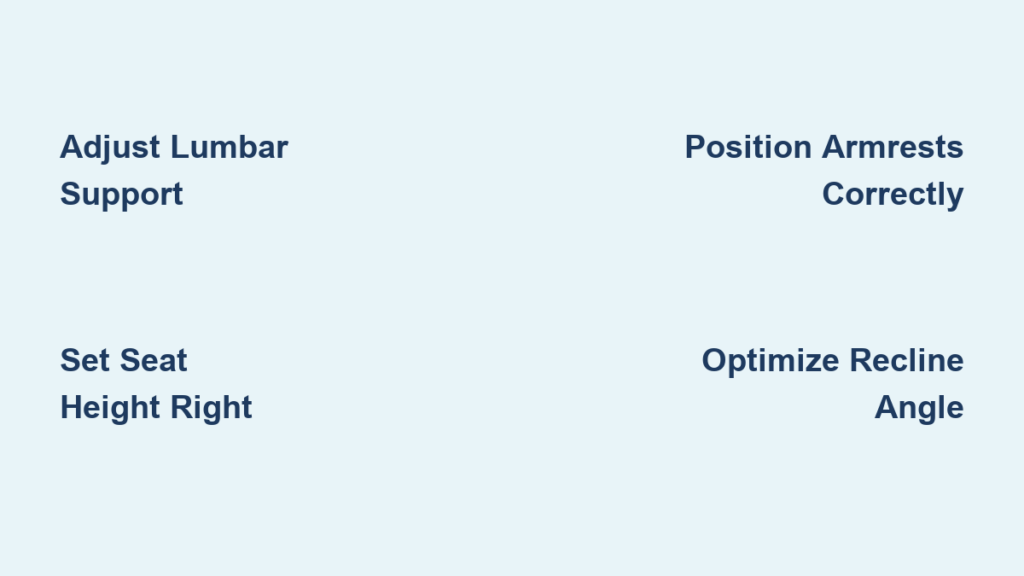
If you’ve ever experienced lower back pain after a long workday or noticed your energy levels dropping as the afternoon
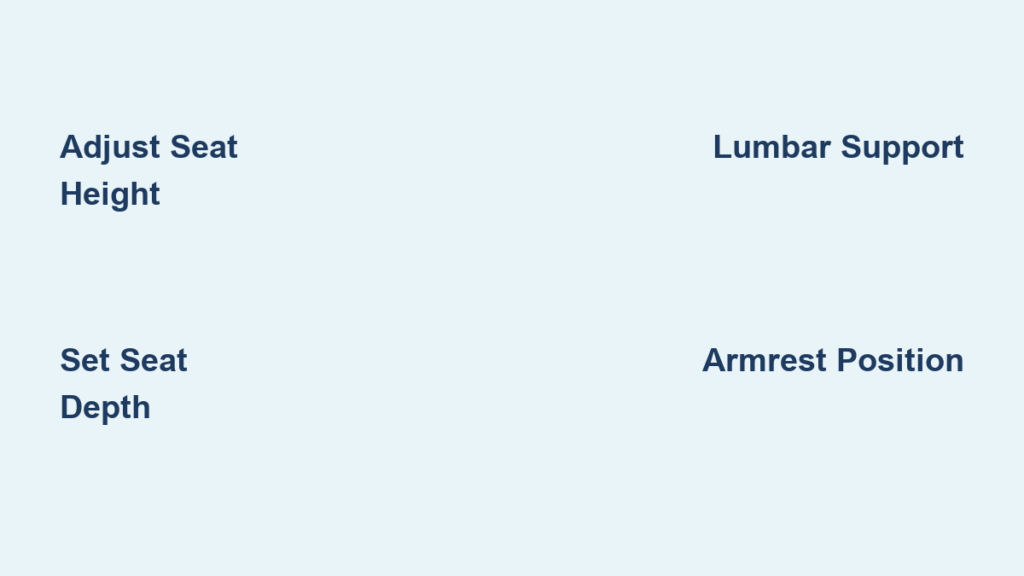
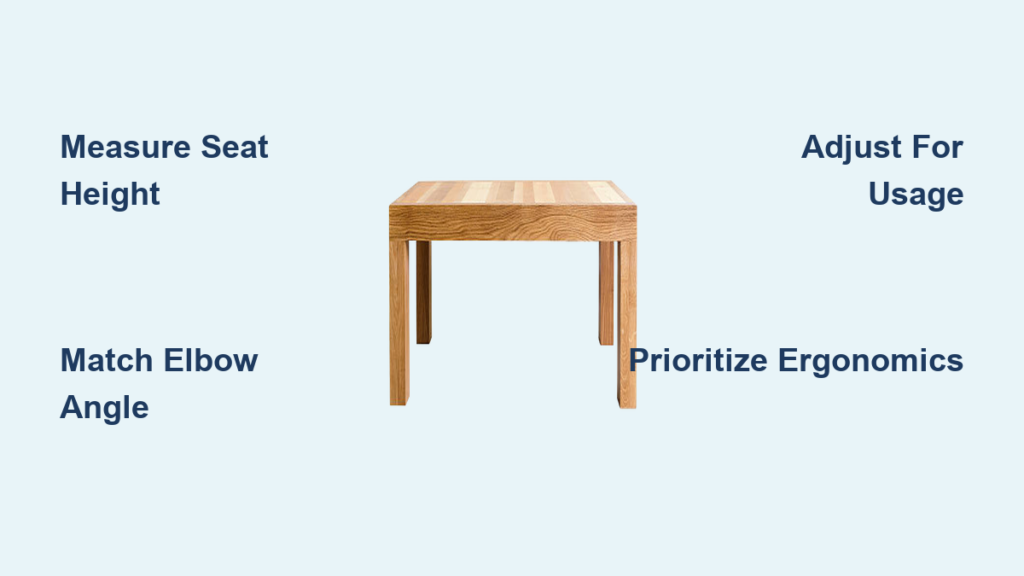
Few decisions impact your daily comfort and long-term health as much as the configuration of your workspace seating. An improperly
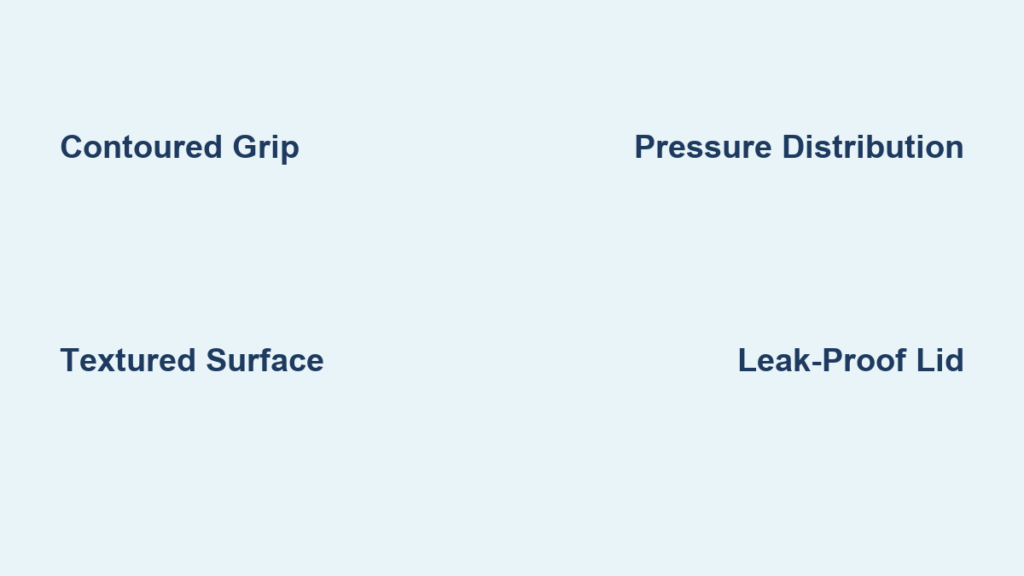
Your hand shouldn’t ache after carrying a water bottle for 20 minutes. Yet anyone who’s hiked with a standard cylindrical

Your workspace layout directly impacts productivity, comfort, and long-term health—but most floor plans ignore critical design ergonomics floor plan principles
You’ve likely experienced that nagging neck pain or lower back ache after a long work session—signs your workspace isn’t supporting
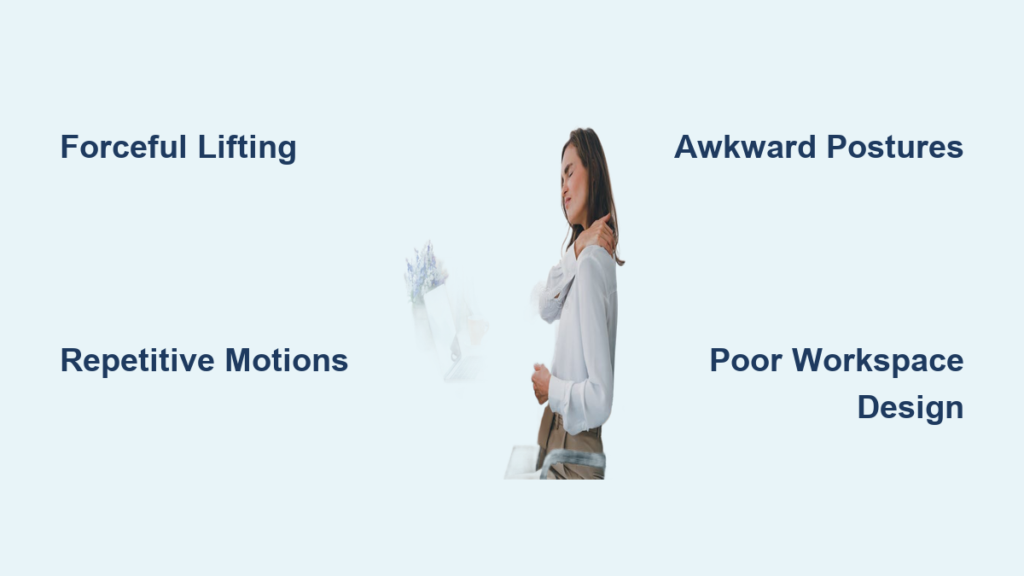
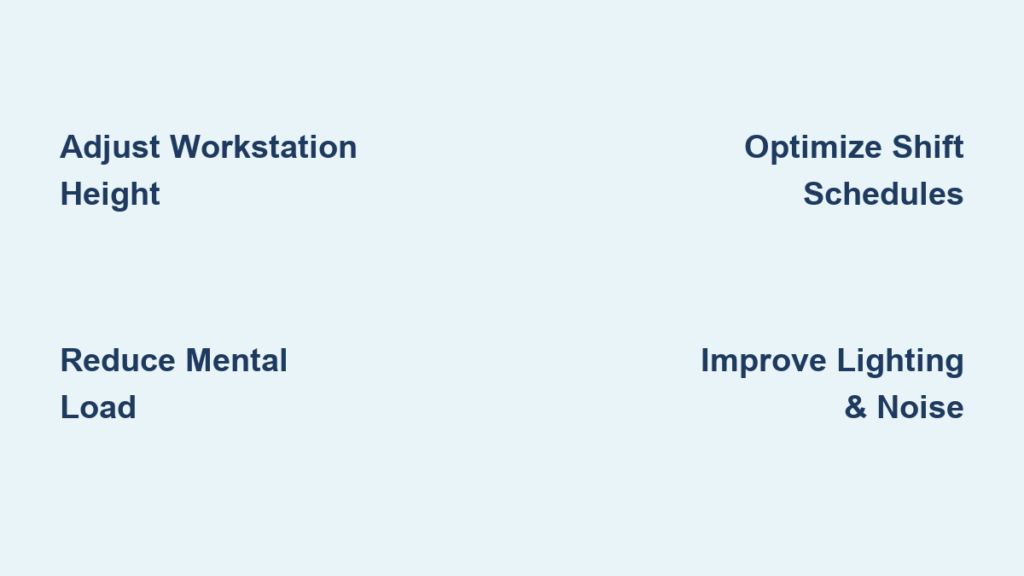
Ergonomic injuries develop when the body is pushed beyond its natural limits through repeated stress, poor posture, and workplace conditions

Waking up with a stiff neck that takes hours to loosen up? You’re not alone—nearly 40% of adults experience sleep-related

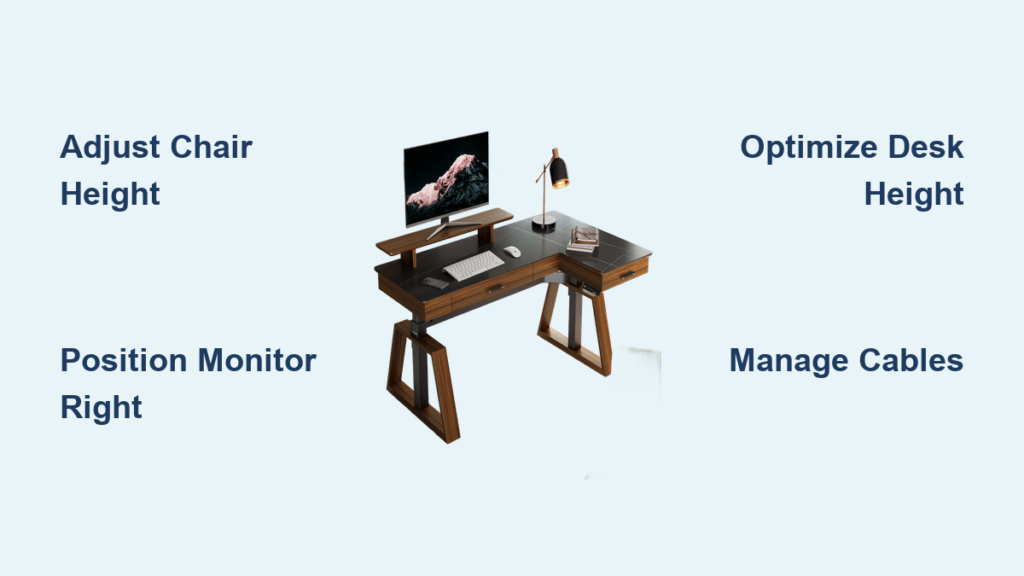
You spend six to eight hours daily at your desk, yet most workstations silently undermine your health and performance. An
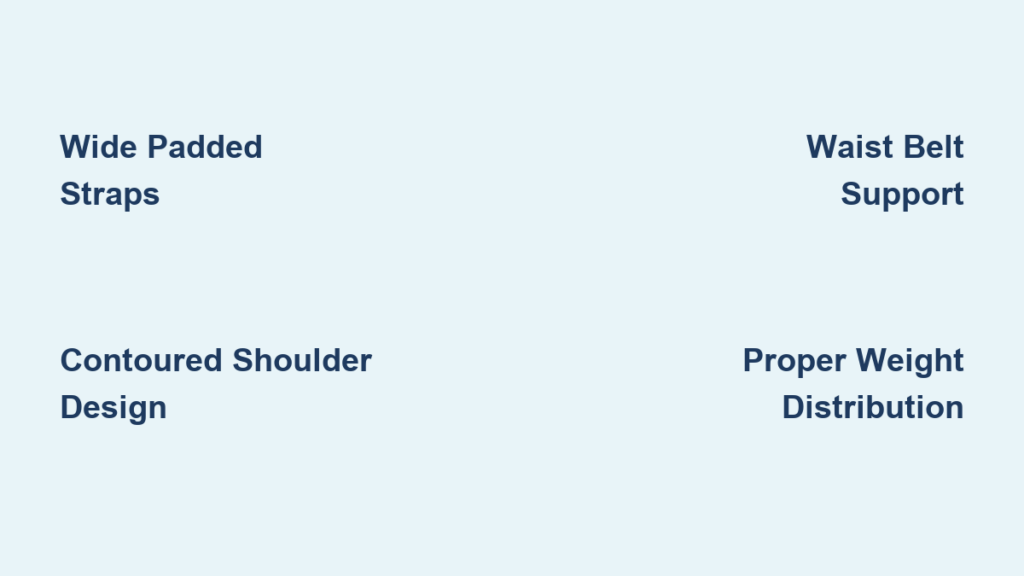
Backpacks have become indispensable companions for students navigating campus corridors, professionals commuting to offices, travelers exploring new destinations, and outdoor
You’ve probably felt it—that nagging wrist pain after hours at your desk, the backache from lifting boxes, or the mental
Ever finish a meal with a stiff neck, sore knees, or that familiar ache in your lower back? You’re not
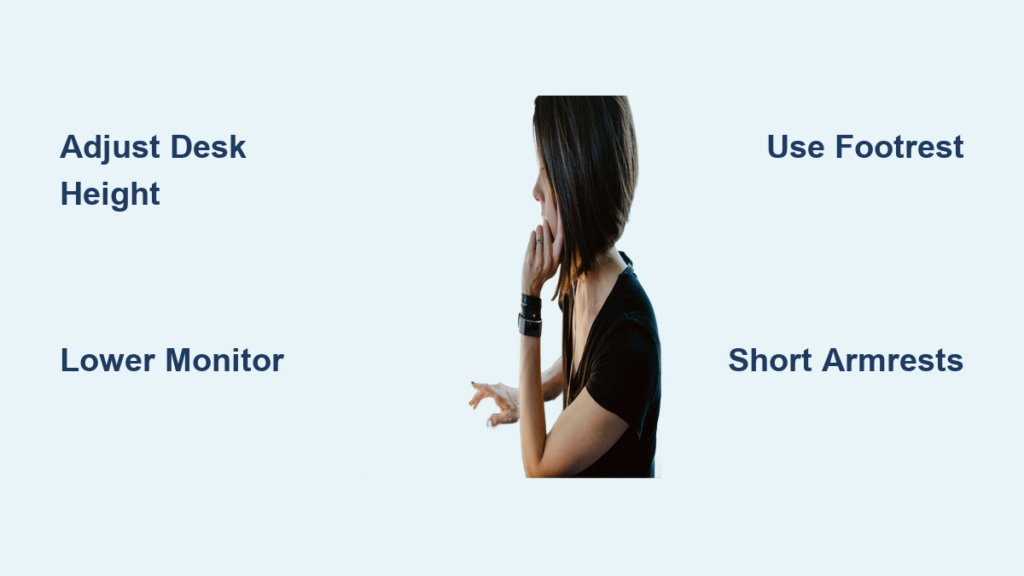
Sitting at a standard desk all day creates real problems when you’re shorter than average. Your feet dangle, your shoulders
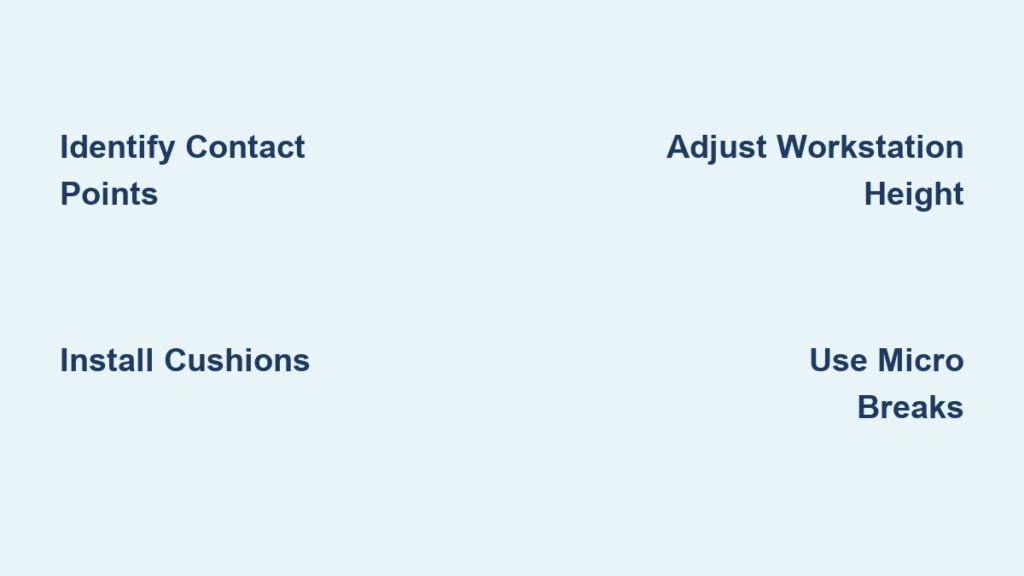
You’ve probably felt it without knowing what to call it—that uncomfortable pressure point where your elbow rests against a hard
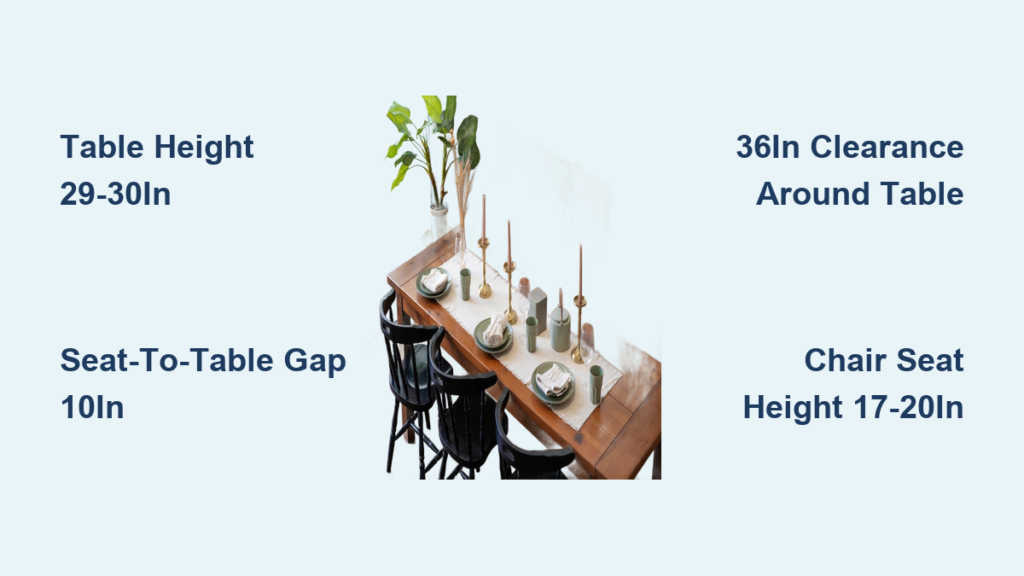
Ever sit down on your sofa only to realize your coffee table forces you to awkwardly reach for your morning
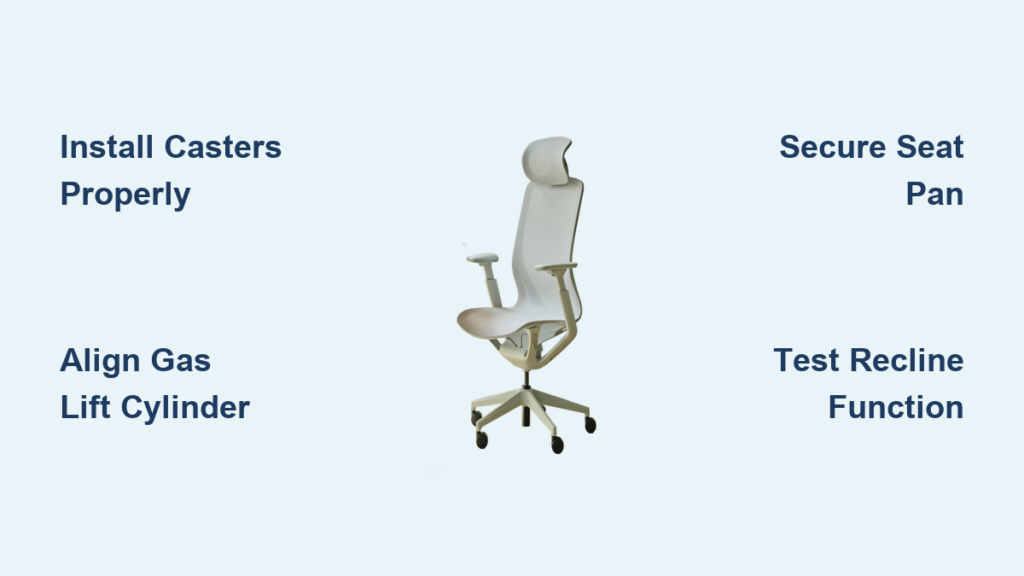
That moment when you unbox your new Branch Ergonomic Chair should be exciting, not frustrating. Yet many professionals find themselves
Office workers spend an average of eight hours or more each day seated at their workstations, making the relationship between

Ever step into a bathroom that just feels wrong? Maybe you’re hunched over the sink, straining to see in the