Barbre Ergonomics Stretches Guide
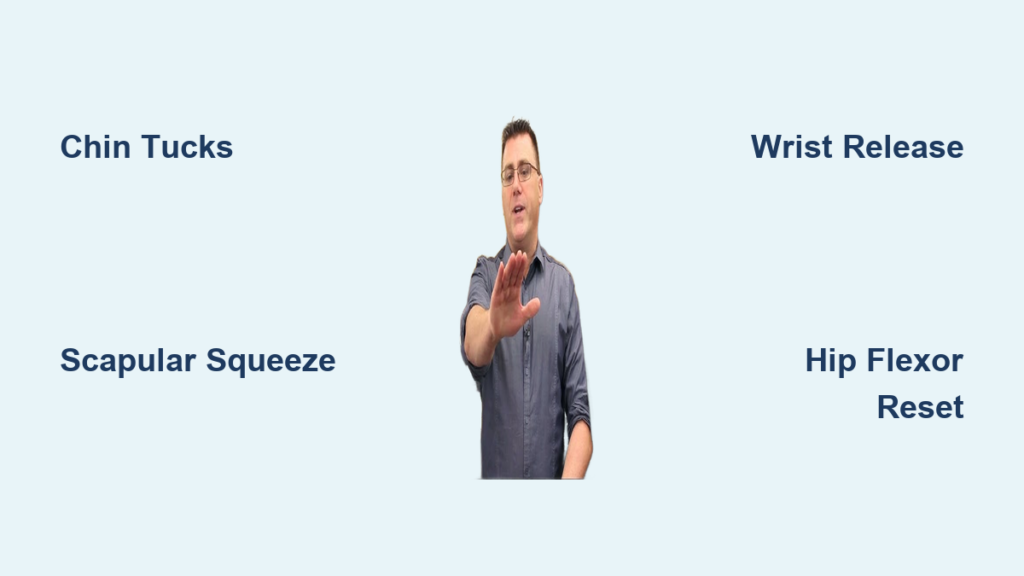
Standing for 8+ hours daily while leaning over clients, your neck cranes forward as scissors flash rhythmically. Your shoulders hunch […]
Standing for 8+ hours daily while leaning over clients, your neck cranes forward as scissors flash rhythmically. Your shoulders hunch […]
You’ve likely experienced that nagging neck pain after hours at your desk or felt exhausted from repetitive tasks that shouldn’t
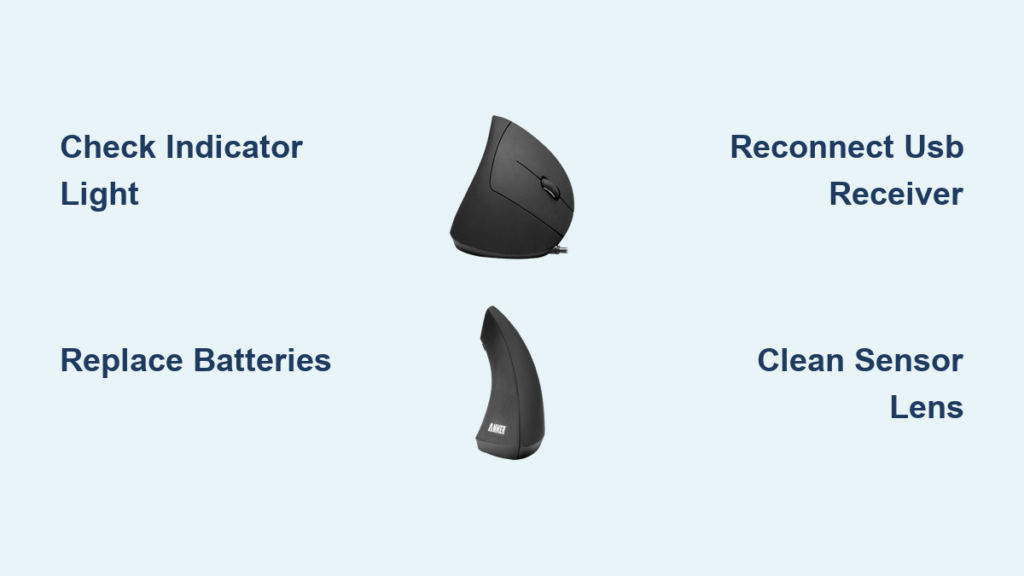
When your Anker ergonomic mouse suddenly stops responding, it can derail your entire workday or gaming session. The frustration of
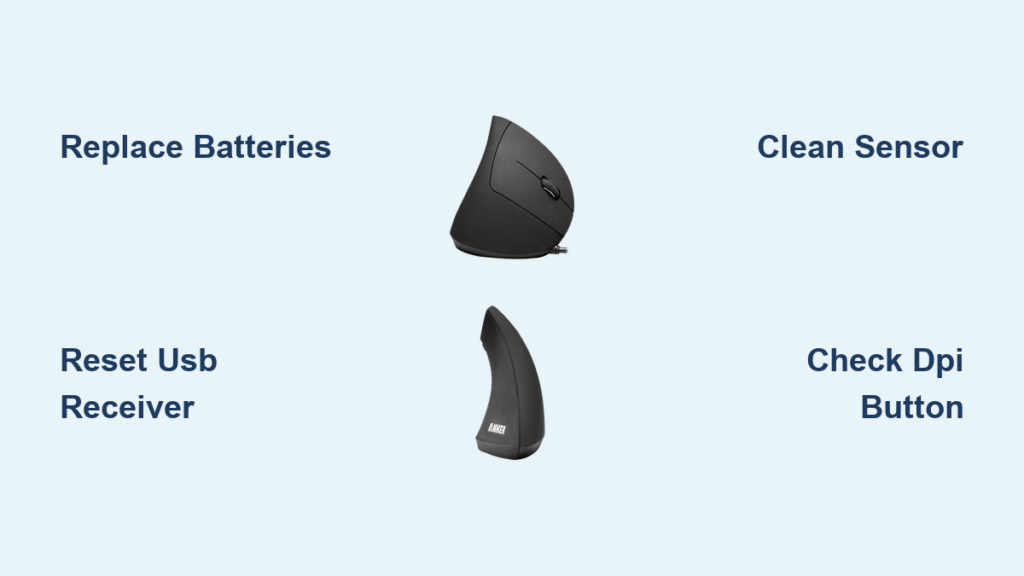
That frustrating red blink on your Anker ergonomic mouse has stopped your workflow dead in its tracks. You’re staring at
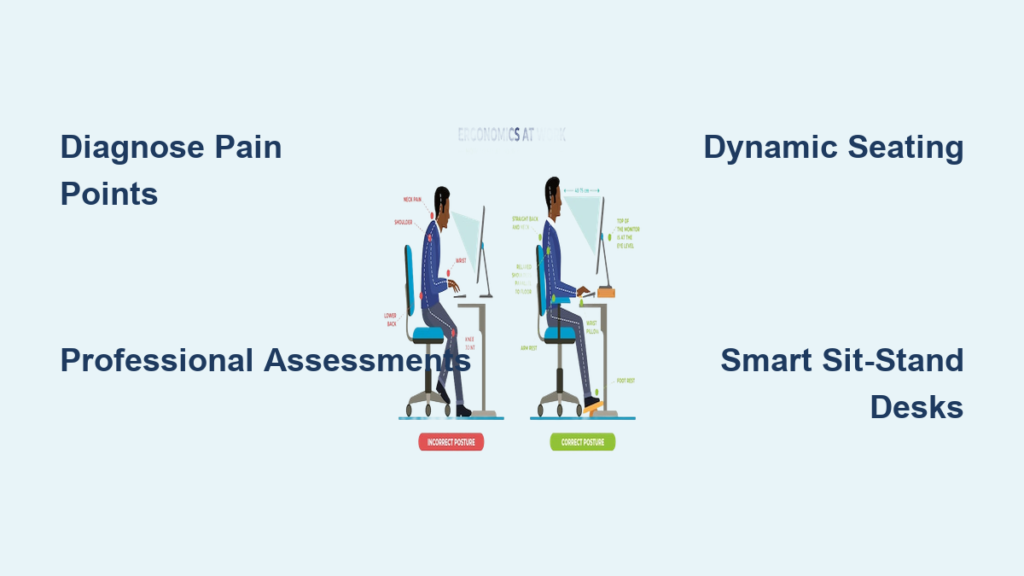
Your employees’ physical comfort directly impacts your bottom line, yet most organizations still treat ergonomics as mere chair adjustments rather
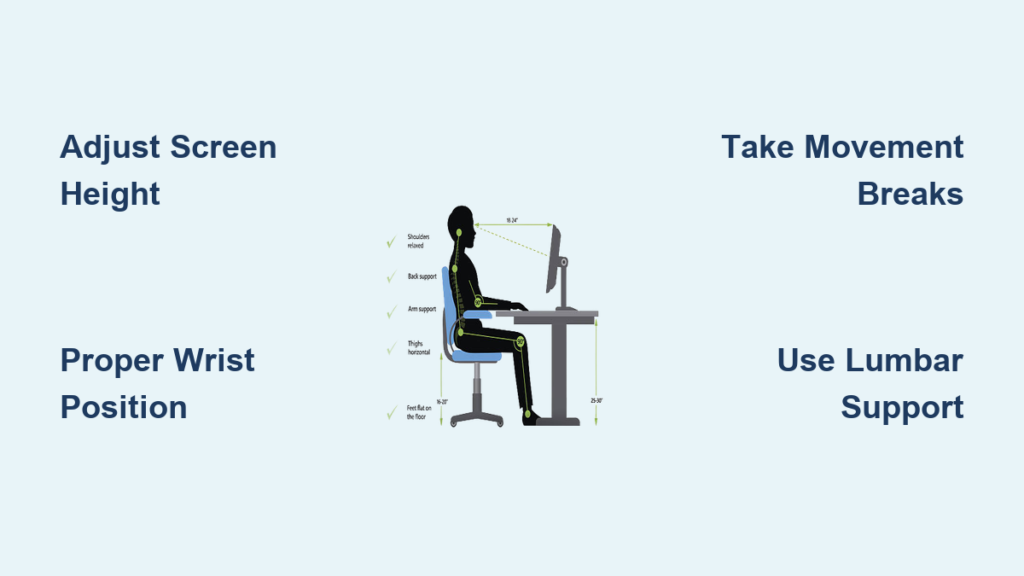
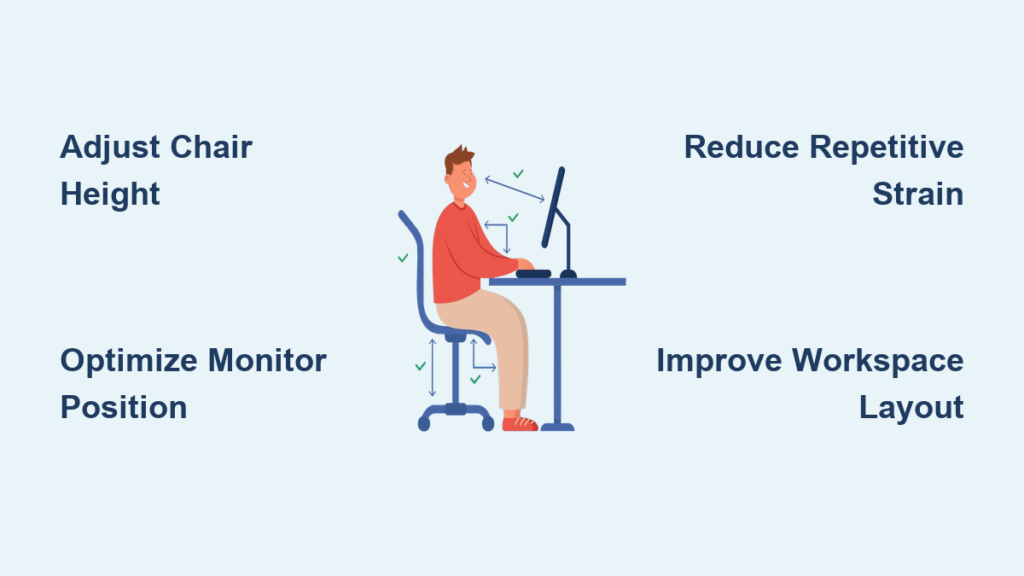
If you’ve ever finished a workday with aching wrists, tired eyes, or a stiff neck, your workstation setup is likely
Spending long hours sitting—whether for work, study, or gaming—can take a serious toll on your body. A well-designed ergonomic chair
Understanding Ergonomic Chairs An ergonomic chair is designed to provide proper support for your body, especially during lengthy periods of
Understanding Ergonomic Chairs Choosing the right ergonomic chair is essential for maintaining comfort and good posture while you work. Ergonomic